Engagement rings are made through a multi-step process: a design is modeled in CAD software, printed as a wax or resin pattern, cast in precious metal using the lost-wax casting method, then hand-finished, set with a center diamond and any accent stones, polished, inspected for quality, and finally certified or appraised before it reaches a customer. The whole sequence typically spans several stages of specialized work — design, casting, setting, finishing, and grading — each handled by a different set of skills, whether inside one workshop or across several suppliers.
For jewelers, designers, and retail sales staff, understanding this process matters beyond curiosity. It shapes what a ring actually costs, why certain setting styles take longer or cost more than others, what "custom" really means when a customer asks for it, and where the real bottlenecks and quality checkpoints sit. This guide walks through the entire manufacturing process end to end, in plain terms, and closes with how a modern wholesale supplier handles the same steps for trade buyers who need finished rings turned around quickly.
The Engagement Ring Manufacturing Process at a Glance
Before getting into each step in detail, it helps to see the full sequence laid out together. The table below shows the standard order of operations and roughly how long each stage takes in a conventional workshop setting — timelines vary considerably by shop, order complexity, and whether steps run in parallel or strictly in sequence.
| Step | What Happens | Typical Duration (Conventional Workshop) |
|---|---|---|
| 1. Design & CAD modeling | Concept sketched or modeled digitally in 3D software; client or jeweler reviews and approves | 1–5 days |
| 2. Pattern creation | CAD file converted to a physical wax or resin pattern via 3D printing or wax injection | 1–2 days |
| 3. Casting | Lost-wax casting: pattern invested in plaster, burned out, metal poured into the cavity | 1–3 days |
| 4. Stone sourcing & selection | Center stone and accent stones sourced, graded, and matched to the setting | Can run in parallel with steps 1–3; 1 day to several weeks depending on stone rarity |
| 5. Setting | Center and accent stones set into the cast mounting by hand | 1–3 days |
| 6. Polishing & finishing | Filing, sanding, buffing, and final polish; rhodium plating if applicable | 1 day |
| 7. Quality control | Inspection under magnification for prong security, stone alignment, surface finish | Same day as finishing |
| 8. Certification & documentation | Grading report matched to the stone; appraisal document prepared if requested | Same day if the stone is pre-certified; longer if grading is done from scratch |
| Total (typical industry range) | — | 2–6 weeks |
That 2–6 week range is the conventional industry norm, largely because most workshops handle design, casting, setting, and stone sourcing as separate, sequential steps — often outsourced to different specialists who each have their own queue. Later in this guide we'll look at how consolidating those steps under one roof changes that timeline meaningfully.
Step 1: Design and CAD Modeling
Every engagement ring starts as a design decision, whether it's a customer choosing from an existing style or a jeweler building something from scratch based on a sketch, a reference photo, or a verbal description. Today, that design is almost always translated into a 3D CAD (computer-aided design) file rather than carved or sculpted directly in metal, because CAD allows for precise, repeatable modeling of every dimension: shank thickness, prong height and angle, head size to match the exact stone measurements, and the profile of any engraving or milgrain detail.
CAD modeling matters for a few practical reasons beyond precision. It lets a jeweler or customer see a rendered, rotatable preview of the ring before any metal or stone is committed, catching proportion issues early. It also makes revisions fast and cheap relative to reworking a physical model — a prong height or shank width can be adjusted digitally and re-rendered in minutes, rather than requiring the piece to be melted down and remade. For a wholesale jeweler managing multiple client orders, this stage is also where custom orders get standardized enough to move efficiently through the rest of the manufacturing pipeline without losing the specific details a client asked for.
Step 2: From Digital File to Physical Pattern
A CAD file is digital and can't be cast directly — it has to become a physical object first. There are two common approaches. The older, still widely used method is wax injection: a metal mold matching the CAD design is used to inject molten wax, producing a wax pattern. The more common modern approach is 3D printing the pattern directly from the CAD file, typically using a resin or castable wax-like material on a specialized printer built for jewelry work.
3D printing has generally displaced hand-carved wax patterns and injection molds for one-off and custom pieces because it reproduces fine CAD detail — sharp prong tips, precise millgrain, intricate filigree — more consistently than hand carving, and it doesn't require a metal injection mold to be built first, which only makes sense for pieces being produced in volume. For a single custom ring, a directly printed pattern is both faster and more accurate to the original design.
Step 3: Casting — The Lost-Wax Process
Casting is where the ring first becomes metal, and the method used across the jewelry industry — with only minor variations — is lost-wax casting, a process that is centuries old in principle even though the tools involved have modernized considerably. The physical pattern (wax or printed resin) is attached to a wax "tree" alongside other patterns, then invested — encased in a plaster-like investment material inside a metal flask. The flask is heated in a kiln, which burns out the wax or resin pattern entirely, leaving a precise negative cavity in the shape of the ring inside the hardened investment material — this is the "lost wax" the process is named for.
Molten precious metal (typically 14k or 18k gold, platinum, or palladium, depending on the order) is then poured or centrifugally cast into that cavity, filling every detail the pattern captured. Once the metal cools and solidifies, the investment material is broken away, and the cast ring — still rough, still attached to its metal sprue from the tree — is cut free and cleaned of surface residue known as fire scale or investment debris.
Cast vs. Hand-Fabricated: A Real Tradeoff
It's worth being direct about an alternative method that's sometimes marketed as inherently superior: hand fabrication, where a jeweler builds the ring from sheet and wire metal stock without casting at all. Hand fabrication can produce excellent results and is genuinely necessary for certain repair work or one-of-a-kind architectural designs that don't lend themselves to casting. But for the overwhelming majority of engagement ring designs, casting is not a lesser shortcut — it's the more accurate and more consistent method, because it reproduces the exact CAD-modeled proportions every time, where hand fabrication depends heavily on an individual fabricator's manual skill and introduces more piece-to-piece variation. The real tradeoff is time and cost versus true one-off uniqueness: hand fabrication generally takes longer and costs more per piece, and makes sense mainly when a design genuinely can't be achieved through casting, rather than as a default choice for a standard mounting.
Step 4: Stone Sourcing and Selection
While the metalwork is underway, the center stone and any accent stones need to be sourced and matched to the setting — a step that can run in parallel with design and casting but has its own timeline and considerations entirely separate from the metalwork.
Natural vs. Lab-Grown Diamonds
The first major decision is natural versus lab-grown. Natural diamonds are formed underground over geologic time and mined; lab-grown diamonds are chemically and physically identical to natural diamonds but grown in a controlled lab environment — in Guru Diam's case, exclusively through the CVD (Chemical Vapor Deposition) process, which grows diamond layer by layer from a carbon-rich gas onto a diamond seed. Both are real diamonds by every gemological measure; the difference is origin, not composition, and it shows up mainly in price and, for some buyers, in the sourcing story that matters to them. Lab-grown typically offers meaningfully more size and clarity per dollar at the same budget, while natural retains a rarity premium that some buyers specifically want.
Certified Loose Stones and Shape Selection
Whichever origin a buyer chooses, sourcing a certified loose stone — one independently graded by a recognized lab rather than sold on a seller's own representation — is the standard for any transaction above the smallest melee sizes. IGI, GIA, and GCAL are the three labs most widely recognized and accepted across the trade, and a proper grading report documents the stone's carat weight, cut, color, and clarity along with a plot of any inclusions, giving both the jeweler and the end customer an independently verified record of exactly what they're buying.
Shape is the other major sourcing decision, and it splits roughly into three tiers that matter for both price and availability. Round brilliant remains the most requested shape and functions almost as a commodity item — widely available, consistently priced, and the default most buyers picture when they think "diamond ring." A middle tier of well-established fancy shapes — oval, cushion, emerald, pear, marquise, radiant, princess, asscher, and heart — is broadly available and popular for buyers wanting something distinct from round without stepping into rarer territory. A third tier of antique and exotic cuts — old mine, old European, hexagonal, kite, trillion, moval, lozenge, criss-cut, and similarly specialized shapes, along with fancy color stones — is a much smaller, more specialized part of the market, harder to source consistently, and priced more on rarity and craftsmanship than on standard shape-yield economics. Buyers building an antique-inspired or vintage-style engagement ring line should expect this tier to require a supplier with genuine depth in that category, not just a general loose-diamond inventory — our certified diamonds and fancy color loose diamonds categories reflect how differently that sourcing works compared to standard round or fancy-shape stones. For rings that call for two matched side stones flanking the center diamond, sourcing a genuine matched pair — not just two similar stones — is its own consideration; see our matching pairs category for how that sourcing differs from single-stone buying.
Step 5: Setting the Center and Accent Stones
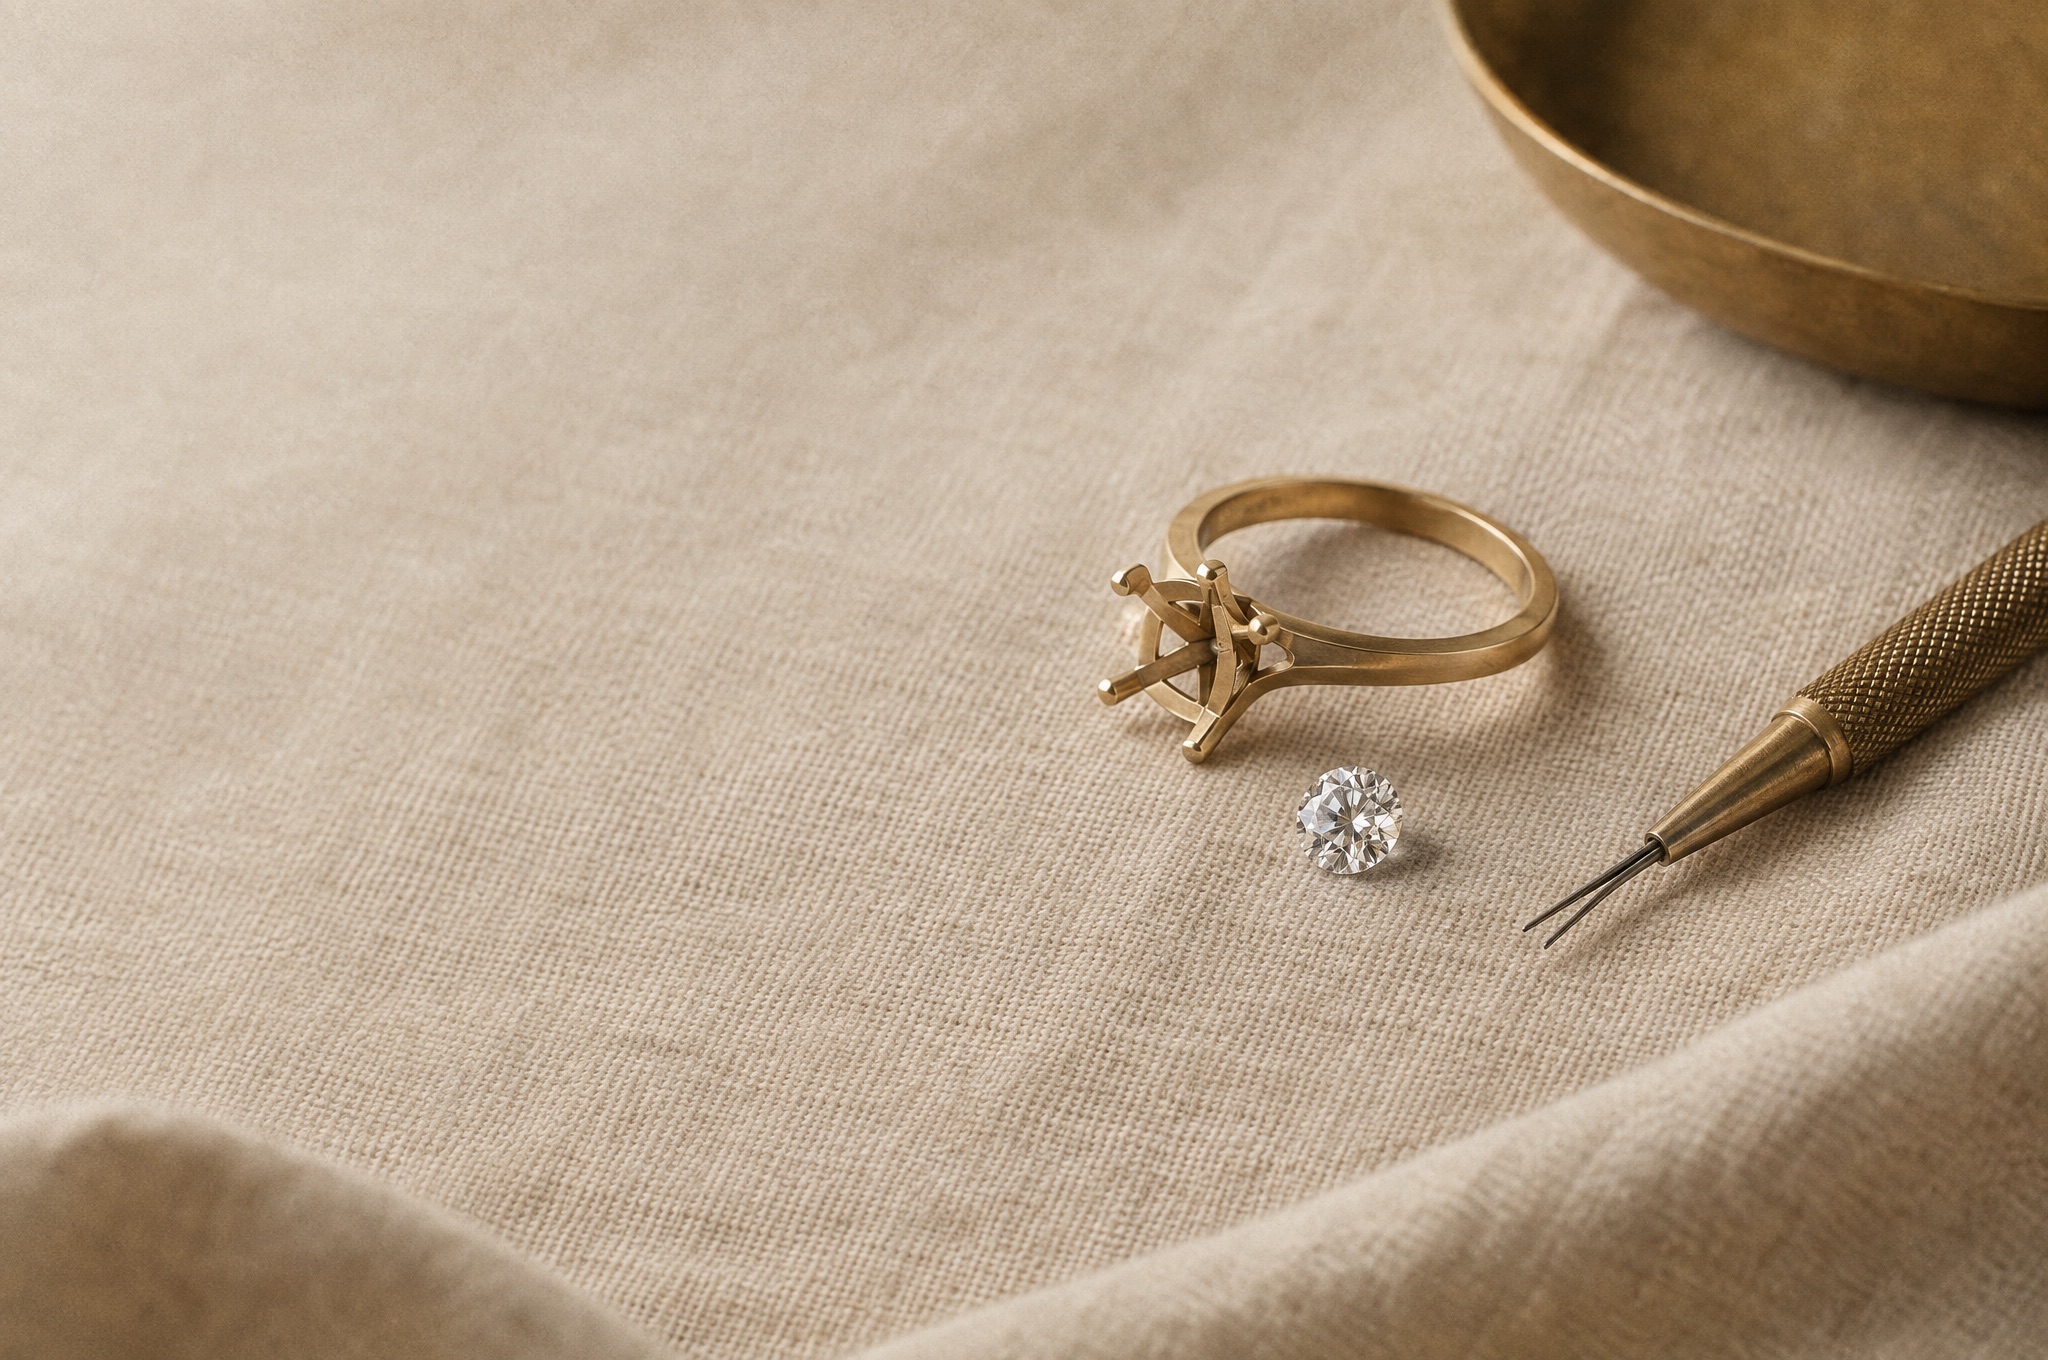
Once the cast mounting is cleaned up and the stones are sourced, a setter mounts the center stone and any accent stones by hand. This is one of the most skill-dependent steps in the entire process — a poorly executed setting can chip a stone, leave it loose over time, or simply look uneven — and the setting method chosen affects not just appearance but durability, cost, and how easily the stone can be inspected, cleaned, or reset down the road.
The table below compares the four most common setting methods used in engagement ring production at a high level.
| Setting Type | How It Works | Pros | Cons |
|---|---|---|---|
| Prong | Metal claws (typically 4 or 6) grip the stone, leaving most of it exposed to light | Maximizes light entry and sparkle; classic look; relatively easy to clean and inspect | Prongs can snag on fabric or hair; require periodic tightening; least protective of the stone's edges |
| Bezel | A continuous metal rim wraps fully or partially around the stone's girdle | Very secure and protective, good for active lifestyles; sleek, modern look | Covers more of the stone, which can slightly mute brilliance and make the stone appear a touch smaller |
| Pavé | Small accent diamonds are set closely together across a surface, held by tiny beads or prongs | Adds significant sparkle across the band with minimal visual bulk | More labor-intensive to set; individual small stones are harder and costlier to replace if lost or damaged |
| Channel | Stones are set in a row between two parallel metal walls with no visible prongs | Smooth, snag-free surface; stones are well protected on both sides | Less light enters from the sides, slightly reducing sparkle compared to prong-set accents |
Many engagement rings combine methods — a prong-set center stone with a pavé or channel-set band, for example — which is why setting time and setting cost don't scale evenly with the number of stones. A ring with one prong-set center stone can be set in well under a day; a ring with a prong-set center plus a fully pavé-set band and pavé halo can take considerably longer, since each small stone has to be individually seated and secured.
Step 6: Polishing and Finishing
A freshly set ring is not yet ready to leave the workshop. Finishing work includes filing away any leftover sprue marks from casting, sanding out surface imperfections, and polishing the metal to its final shine using progressively finer polishing compounds and wheels. Detail work — crisp edges on a milgrain border, a clean high-polish or matte finish on the shank, sharp definition on any engraving — gets addressed at this stage as well.
For white gold rings specifically, finishing typically includes rhodium plating: a thin layer of rhodium (a hard, bright white metal in the platinum family) applied over the white gold to give it a brighter white color and a harder wear surface, since white gold is actually a naturally slightly yellowish-gray alloy without it. This is a normal, expected part of white gold finishing rather than a shortcut, though it does mean a white gold ring's plating may need refreshing after years of wear — something retail staff should be able to explain to customers who notice a slight color shift over time.
Step 7: Quality Control and Inspection
Before a ring is considered finished, it should go through a dedicated inspection step — separate from the setter's and finisher's own work-in-progress checks — that specifically verifies the things a customer can't easily check themselves. That typically includes examining every prong or setting point under magnification to confirm the stone is fully secure and won't shift or loosen with normal wear, checking that the center stone sits level and properly aligned within its setting, confirming the metal surface has an even, defect-free polish with no tool marks or pitting, and verifying the ring size matches what was ordered.
This step matters more than it might seem from the outside, because most setting or casting defects that would eventually cause a customer problem — a stone working loose, a prong wearing through, an uneven polish that dulls over time — are far cheaper and easier to catch and fix before the ring ships than after a customer has been wearing it. A workshop or supplier without a genuine, separate inspection step is relying entirely on the individual setter or finisher catching their own mistakes, which is a meaningfully weaker check than an independent second look.
Step 8: Certification and Appraisal Documentation
The final step is making sure the right paperwork travels with the ring. If the center stone was sourced already certified — the normal case for any diamond of meaningful size — that grading report (from IGI, GIA, or GCAL) should be matched and provided alongside the finished ring, confirming the exact stone in the setting is the one the report describes. For pieces where an insurance appraisal is needed, a separate appraisal document is typically prepared that values the complete piece — metal, labor, and stone together — for insurance replacement purposes, which is a different document from a grading report and serves a different function: a grading report describes the stone itself, while an appraisal estimates the finished piece's replacement value.
For jewelers reselling finished engagement rings, having both documents in order — and being able to explain the difference to a retail customer — is a basic trust signal that matters disproportionately at the price points engagement rings occupy. A customer who understands their center stone is independently graded, and separately understands what their insurance appraisal actually covers, is a customer far less likely to have a difficult conversation with the jeweler months or years later.
How Long Does the Whole Process Actually Take?
Pulling the steps together: a fully custom engagement ring, built from an original CAD design through a conventional workshop that treats design, casting, stone sourcing, and setting as separate, sequential (and often outsourced) stages, typically takes somewhere in the range of 2 to 6 weeks from initial approval to a finished, inspected ring. Rarer stone shapes, complex pavé or halo work, or a design requiring several rounds of CAD revision can push that timeline toward the longer end; a simpler design with a readily available stone and a straightforward prong or bezel setting can land toward the shorter end.
The main driver of that timeline isn't any single step being inherently slow — it's the handoffs between separate specialists and suppliers, each with their own queue, shipping time between them, and communication lag when a revision is needed partway through. A workshop that keeps CAD design, casting, stone inventory, and setting under one roof, rather than routing an order through several outside vendors, removes most of those handoff delays, which is the main lever available for compressing the timeline without cutting corners on any individual step.
From CAD to Finished Ring: How Guru Diam's Custom Process Works
Guru Diam runs the process described above as a single, in-house pipeline for trade buyers rather than as separate outsourced stages. Design, casting, setting, and polishing are all handled in-house, which removes the shipping and queue delays that stretch a conventional custom order to 2–6 weeks — Guru Diam's custom engagement rings are typically finished in 4–6 days from CAD approval to a completed piece.
That speed sits alongside genuine depth on the stone-sourcing side, which matters for the reasons covered earlier in this guide. Guru Diam carries certified loose diamonds across natural and CVD lab-grown origin, the full range of standard and fancy shapes, and specifically the antique and exotic cuts — Old Mine, Old European, hexagonal, kite, moval, trillion, and similar — that are hardest for most jewelers to source reliably. Certification is available through IGI, GIA, and GCAL, matched to the finished piece as described in the certification step above. For jewelers who want one place to handle a full order rather than coordinating a stone vendor, a casting house, and a setter separately, that combination functions as one vendor, one shipment, one relationship for the whole build.
Custom rings are produced unbranded by default, so jewelers can resell the finished piece as their own — a standard white-label arrangement for trade buyers who need a supplier's manufacturing capability without a manufacturer's name attached to the final product. In-stock inventory ships same day when ordered before 6pm EST from Guru Diam's New York office or before 4pm PST from the Los Angeles office, which matters separately from custom production timelines for jewelers restocking loose stones or ready-made pieces rather than commissioning a new build. Jewelers and designers evaluating a wholesale relationship can review sourcing details through the wholesale hub, see the requirements for setting up an account through trade partner onboarding, or look at the custom jewelry program directly for CAD-to-finished-ring builds like the ones described throughout this guide.
Frequently Asked Questions
How long does it take to make a custom engagement ring?
A conventional custom engagement ring typically takes 2 to 6 weeks from design approval to finished piece, mostly because design, casting, stone sourcing, and setting are usually handled by separate vendors with their own queues and shipping time between steps. A supplier that keeps all of those steps in-house can compress that significantly — Guru Diam's custom rings, for example, are typically finished in 4–6 days.
What is the lost-wax casting process used for engagement rings?
Lost-wax casting is the standard method for turning a ring design into metal: a wax or 3D-printed pattern is encased in plaster-like investment material, then heated until the pattern burns away entirely, leaving a precise cavity. Molten metal is then poured into that cavity, and once it cools, the investment is broken away to reveal the cast ring, which is then cleaned up, set, and polished.
Is a cast engagement ring lower quality than a hand-fabricated one?
No — for the vast majority of standard engagement ring designs, casting is actually more precise and consistent than hand fabrication, because it reproduces the exact proportions of a CAD-modeled design every time. Hand fabrication is generally reserved for repair work or unusual designs that can't be cast at all, and it typically costs more and takes longer without necessarily improving the result for a standard mounting.
What's the difference between a diamond grading report and a jewelry appraisal?
A grading report — from a lab like IGI, GIA, or GCAL — documents a specific loose diamond's carat weight, cut, color, and clarity, independent of any setting. An appraisal, by contrast, values the complete finished piece — metal, labor, and stone together — for insurance replacement purposes, and is a separate document prepared after the ring is finished rather than a substitute for the stone's grading report.
Are lab-grown diamonds used in engagement ring manufacturing the same as natural ones?
Yes — a lab-grown diamond is chemically and structurally identical to a natural diamond; the difference is entirely in origin, not composition. Guru Diam's lab-grown catalog is produced through the CVD (Chemical Vapor Deposition) growth method specifically, and lab-grown stones are set, finished, and certified through the same process as natural stones described throughout this guide.
Which setting type is most durable for everyday wear?
Bezel settings are generally the most protective and durable for active, everyday wear because the metal rim fully or partially surrounds the stone's girdle, shielding its edges from impact. Prong settings offer more sparkle and the classic engagement ring look but require more periodic maintenance, since prongs can loosen or wear thin over years of daily use.