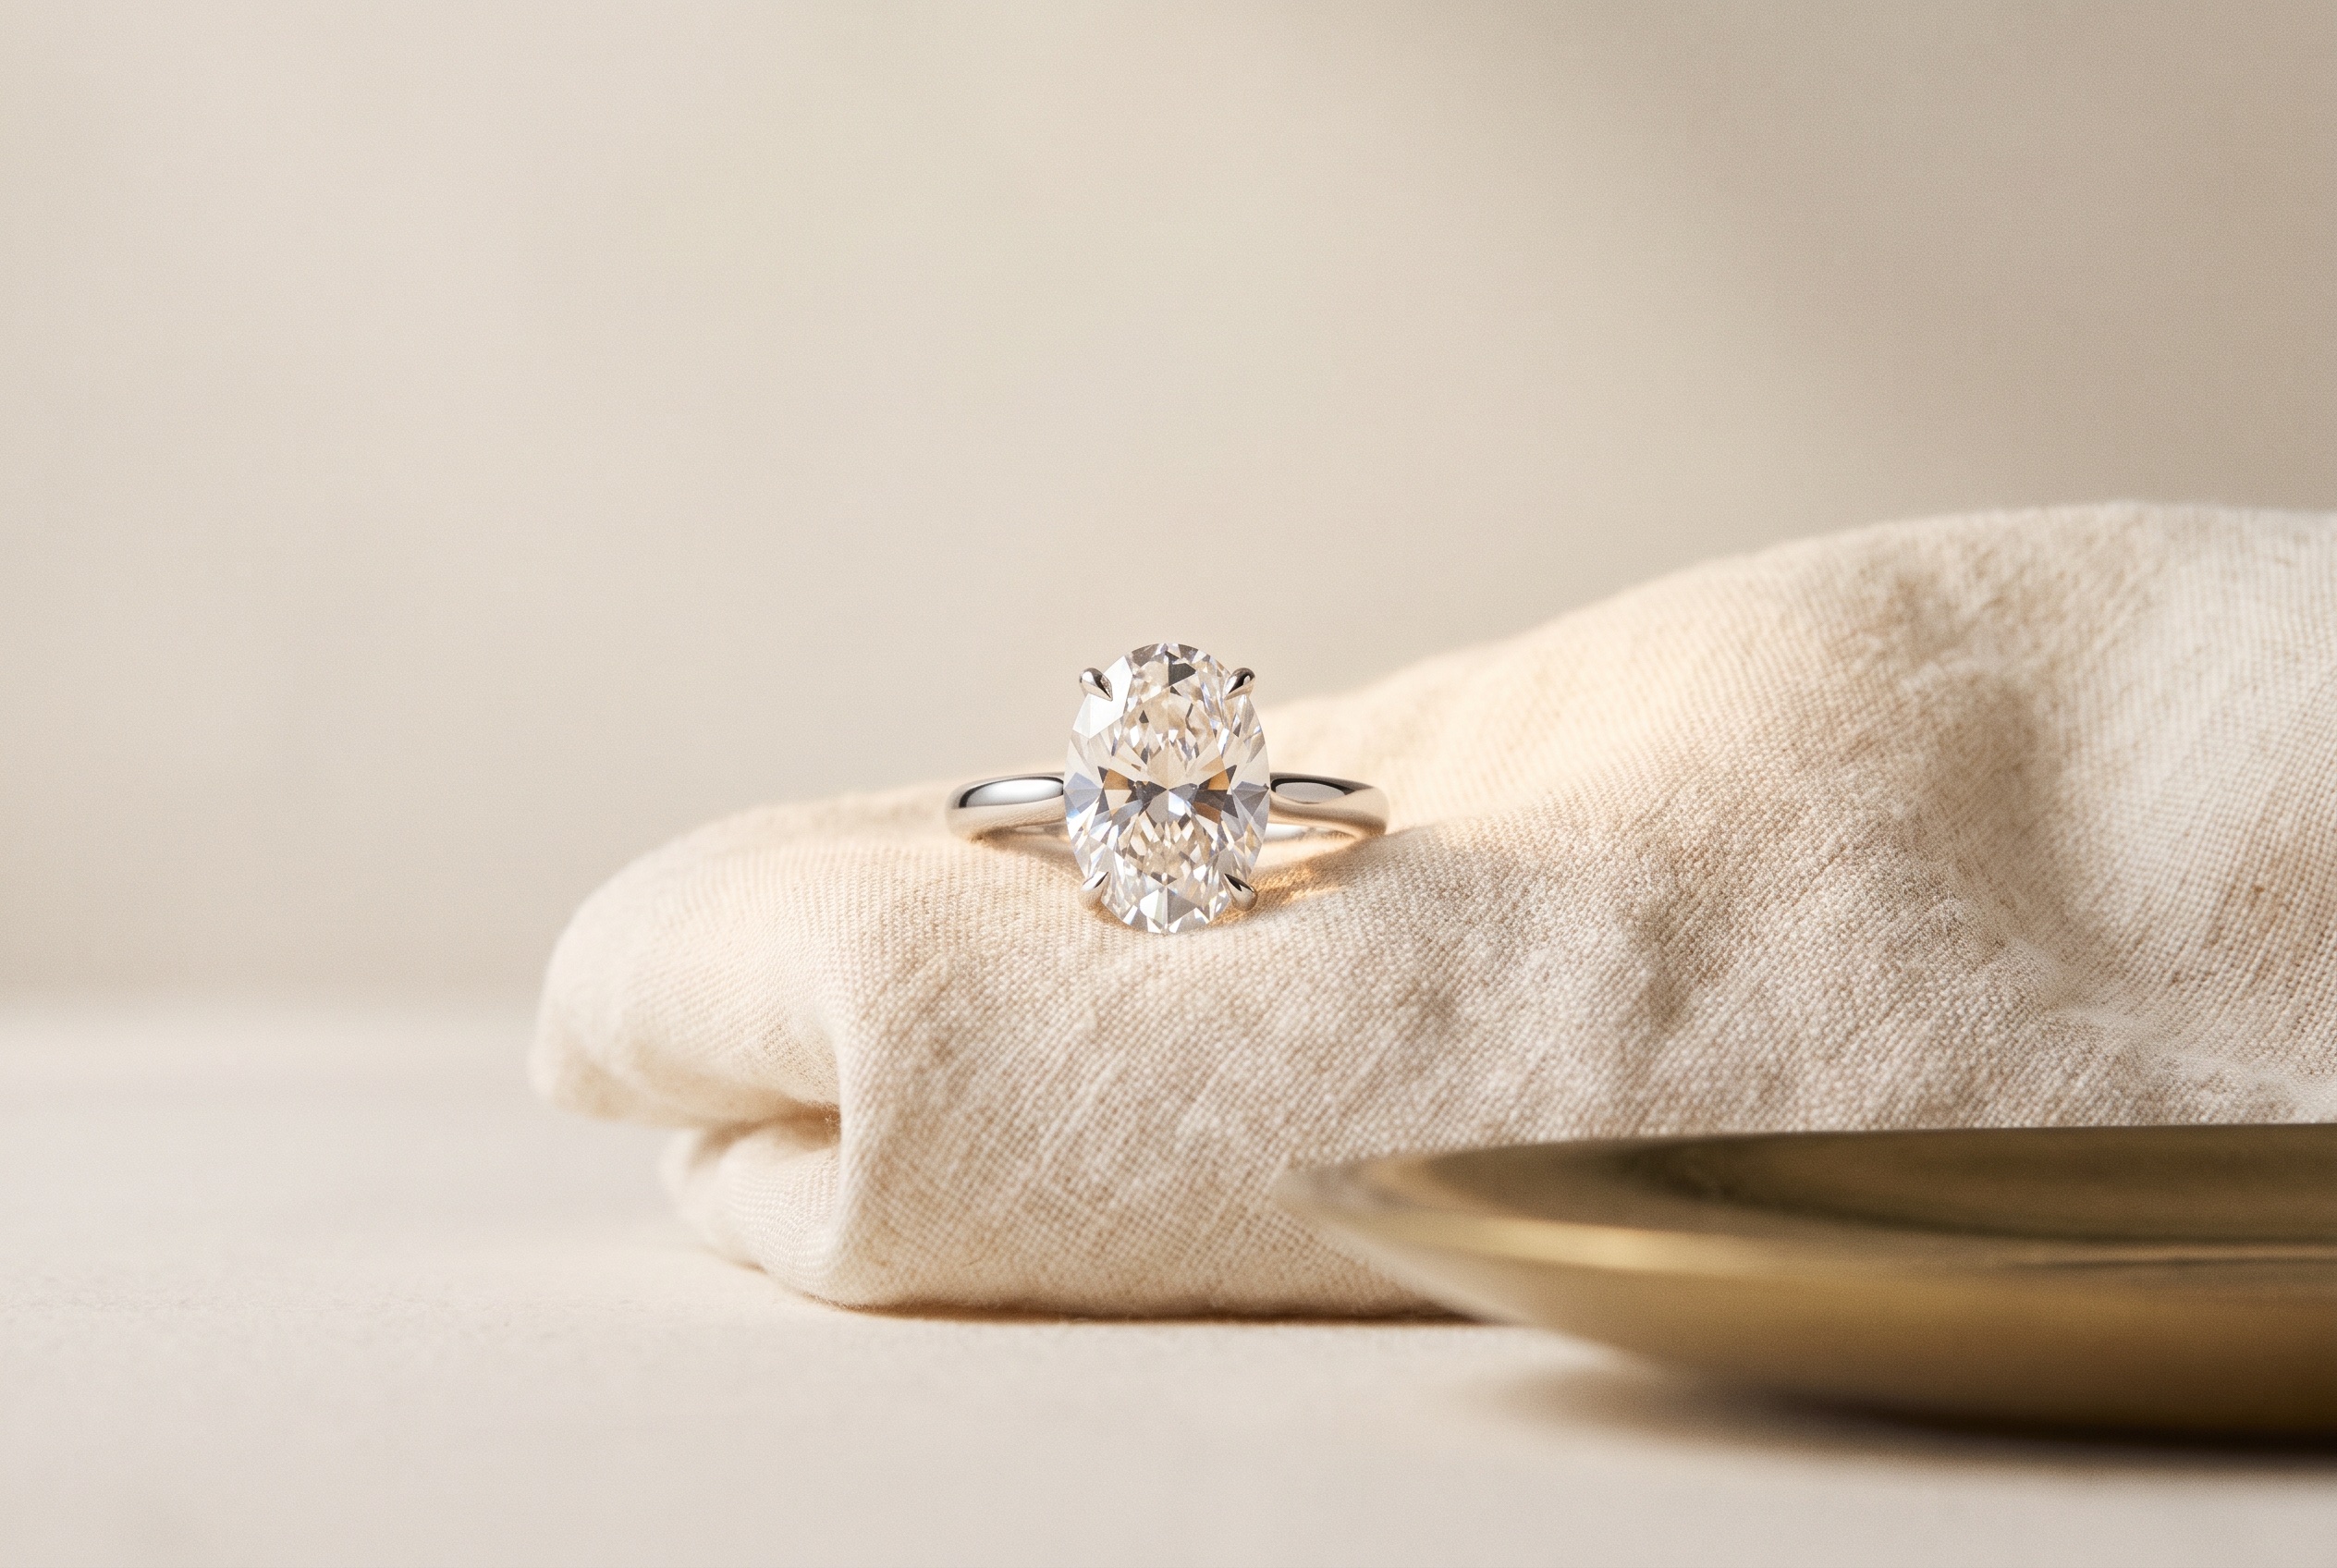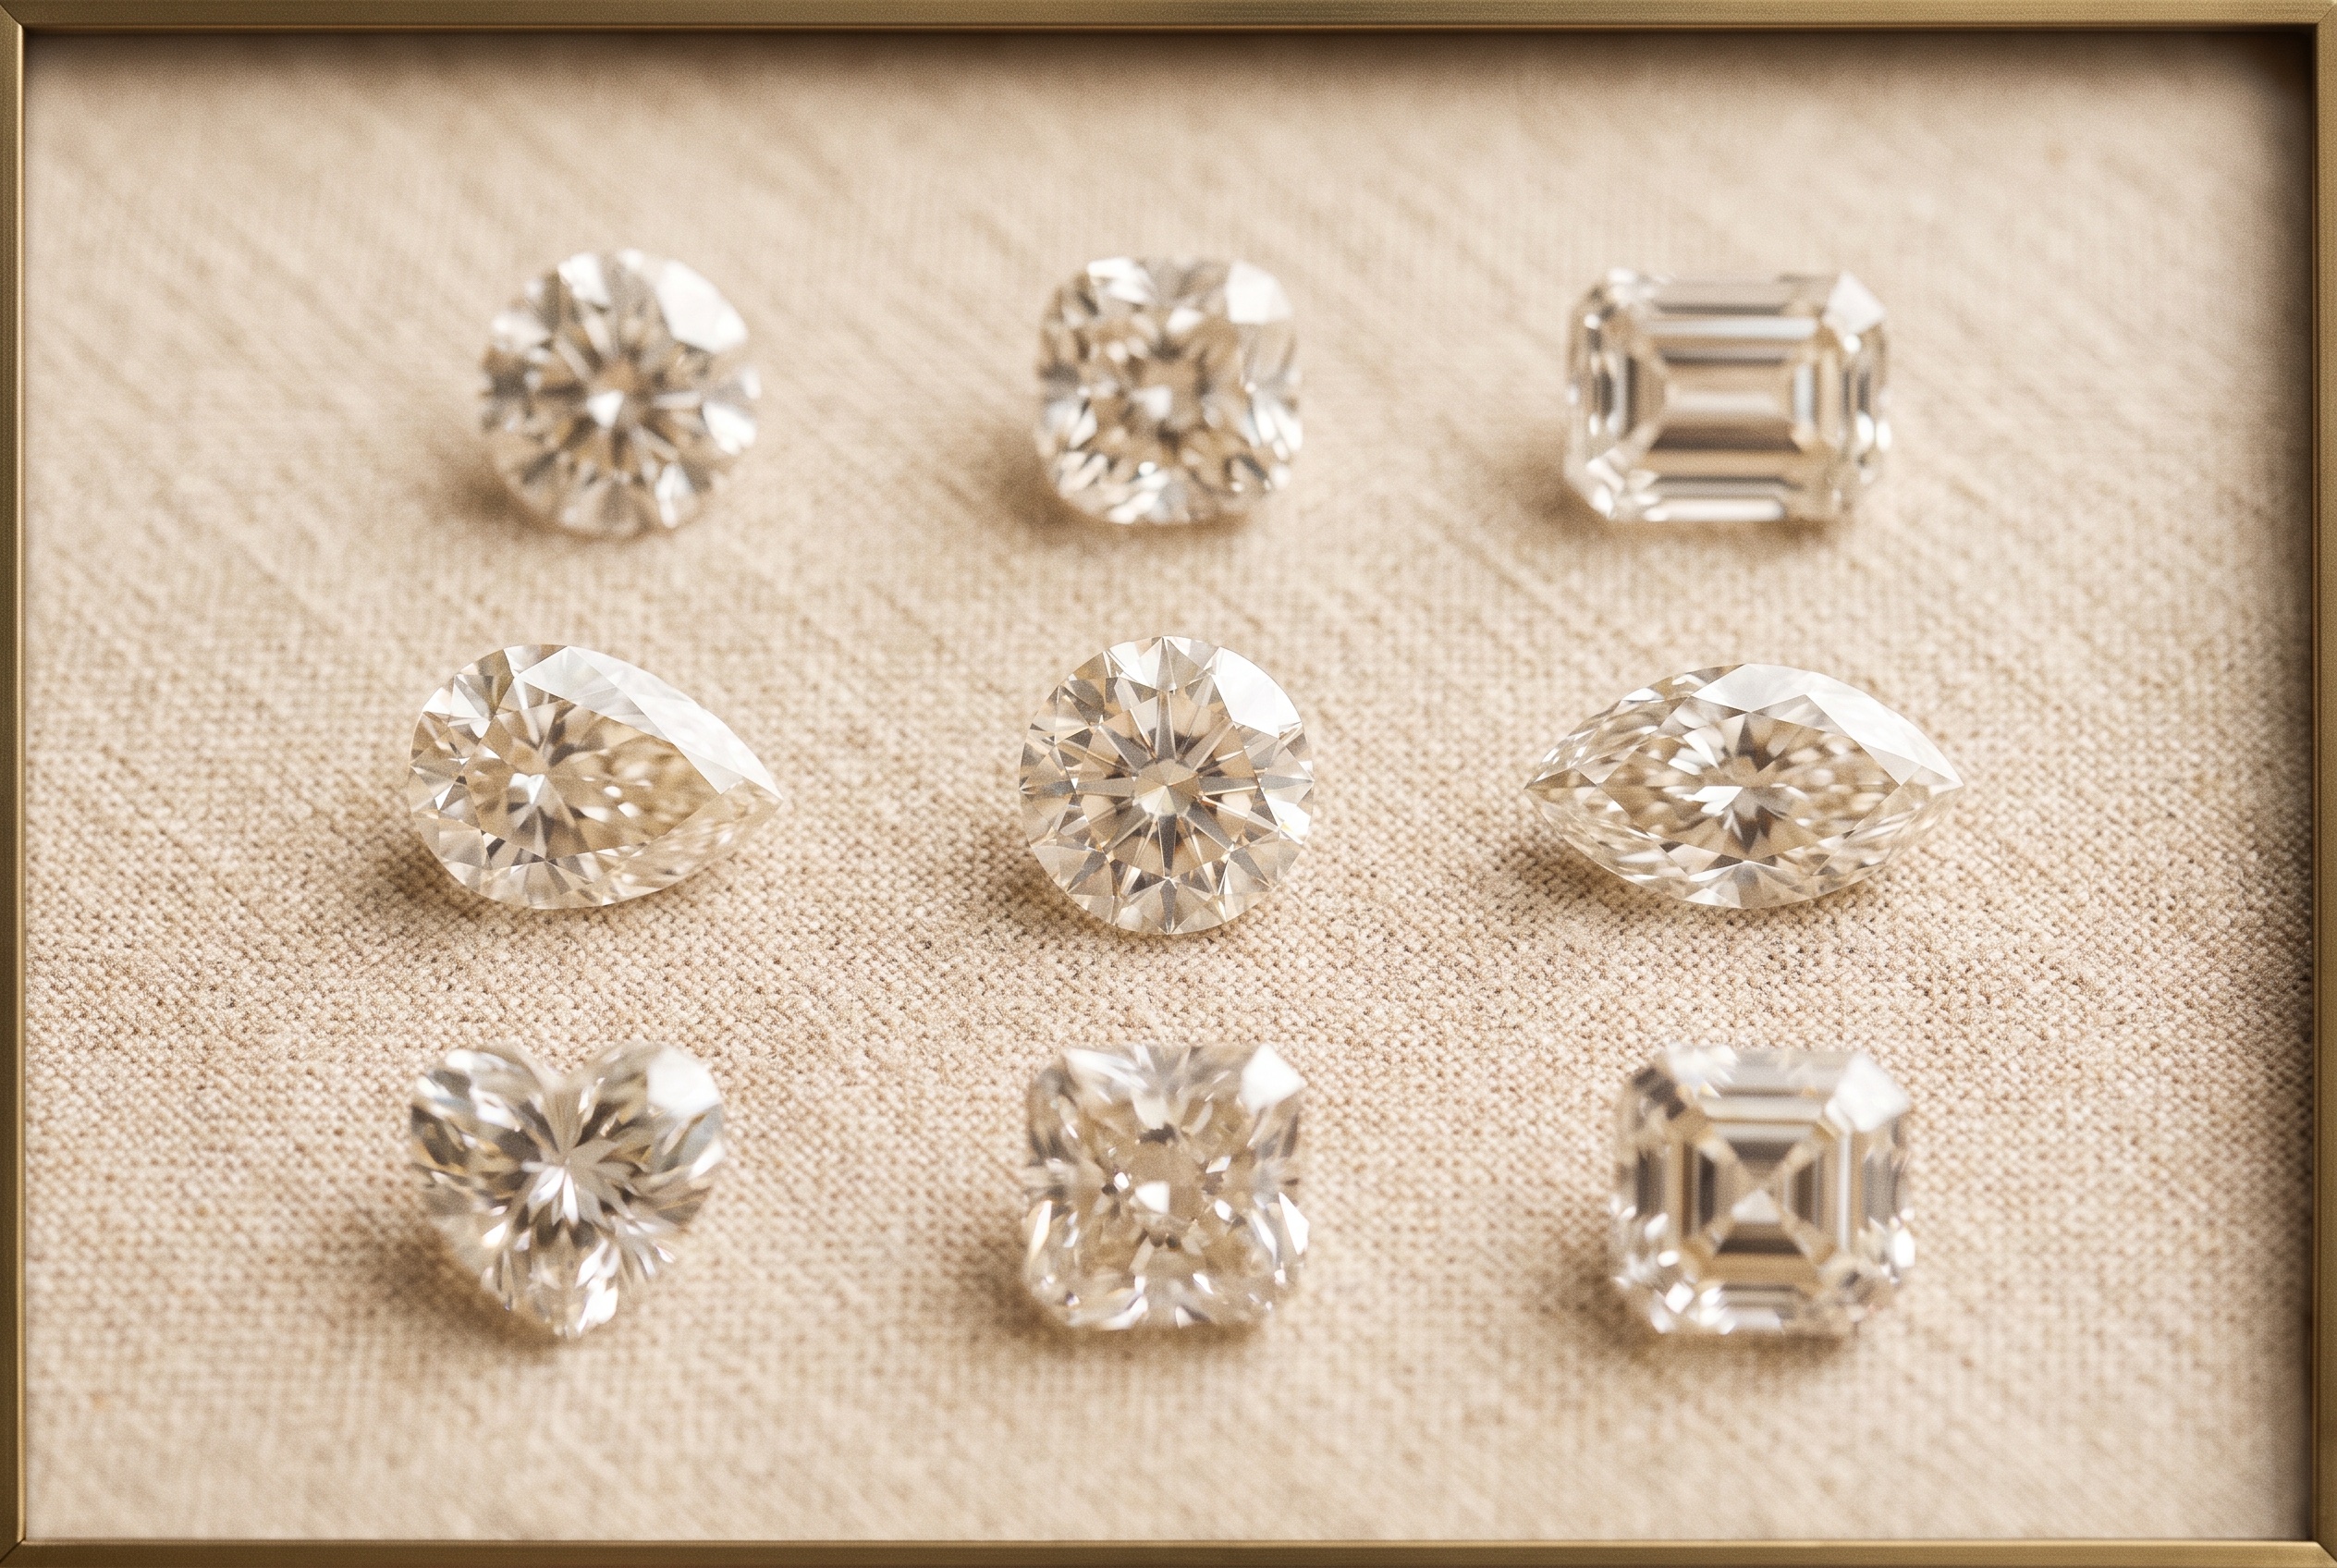


Most defects that reach a jeweler’s counter trace back to five categories: porosity in the casting, prong misalignment from the CAD-to-metal handoff, stone chipping during setting, inconsistent polish or plating, and weak points introduced during sizing. Each one has a specific, identifiable cause, a specific point in production where it should get caught, and a specific spot on the finished piece where a jeweler can still catch it on arrival — under a loupe, in under two minutes, before the piece ever gets presented to a customer. The rest of this post walks through all five, checkpoint by checkpoint.
A defect that ships is rarely one the manufacturer knew about — it’s a step that got skipped or rushed because casting and setting were treated as one continuous pour-to-polish blur instead of discrete, inspectable stages. Every category below has a moment where it’s caught cheaply (before the stone is set, before the piece is plated) or caught expensively (after the customer brings it back). A jeweler’s arrival check is a compressed version of that same inspection.
Why This Is a Vendor Problem, Not Just a Bench Problem
For a retail counter, a defect is a bad customer interaction. For a wholesale buyer — an independent jeweler reordering stock, a designer running a private-label line, a manufacturer sourcing finished pieces to resell — a defect is a production-process signal. One porous shank can be a fluke. A pattern of them across a run means the vendor's quality control exists on paper but not on the bench, which matters more in a trade relationship than at a single retail sale, since the buyer is deciding whether to place the next order with that same partner.

The Five Defect Categories at a Glance
Here's how the five stack up: the trigger, the production stage where QC should catch it, and the arrival check that stands in once the piece is in a jeweler's hands rather than on a bench.
| Defect | Typical Root Cause | Where QC Should Catch It | What to Check on Arrival |
|---|---|---|---|
| Porosity | Rapid cooling, poor sprue placement, trapped gas in the flask, contaminated alloy | Post-cast visual and weight check before any stone is set | Loupe the shank interior and gallery under a strong diffuse light, especially near thick-to-thin metal transitions |
| Prong misalignment | Casting shrinkage not compensated in CAD, rushed hand-finishing without a jig | Pre-set dimensional check against the CAD file | Sight down each prong for even height and spacing; confirm the stone sits level, not tilted |
| Stone chipping during setting | Over-tightened prongs, wrong bur size, no corner protection on step cuts | 10x loupe inspection immediately after every stone is set | Rotate the stone under raking light looking for culet pressure marks and corner chips |
| Finish inconsistency | Rushed final polish, uneven rhodium thickness, tool marks left in tight recesses | Final polish and plating inspection before packing | Check under the halo, inside the shank, and around the hallmark for dull spots or visible tool marks |
| Sizing-related weak points | Solder joint weaker than the parent metal, shank overstretched, stone tension shifted during resize | Post-resize stress check and stone recheck | Inspect the joint seam for pitting; re-test stone tightness — any resize can loosen a setting elsewhere on the piece |
Porosity: The Defect You Can’t See Until the Piece Is Already Finished
Porosity is trapped gas or shrinkage voids inside the metal itself — tiny pockets that weaken the casting from the inside without necessarily showing on the surface until the piece gets polished down into them. It happens when molten metal cools too fast, when the sprue (the metal channel feeding the mold) is placed wrong and creates a thin, quick-solidifying section, or when the flask wasn’t properly vacuumed before the pour and air got trapped in the mold.
The catch point is before any stone goes in. A cast piece should get a visual and weight check at this stage — porosity often shows up as a slightly lower weight than the CAD model predicted, or as pitting visible under magnification once the piece is roughed out. Catching it here costs nothing but a remake of the casting. Catching it after a stone is set means desoldering or scrapping a finished piece.
On arrival, a jeweler can’t run an X-ray, but a loupe under strong diffuse light on the shank interior — particularly at any transition from thick to thin metal, like where a cathedral shank narrows into the gallery — will usually show pinholing if it’s there. Porosity that’s severe enough to matter is rarely invisible; it’s just rarely looked for.
Porosity risk also isn't flat across metals. Platinum's melting point is high enough that casting it well demands vacuum- or pressure-assisted equipment rather than the simpler centrifugal casting that works fine for 14k and 18k gold — a shop running platinum through a gold-calibrated process is casting into a higher porosity risk by default. Recycled scrap alloy adds a second variable: metal re-melted repeatedly without proper fluxing picks up oxides that surface as porosity later.
Prong Misalignment: Where the CAD-to-Casting Handoff Slips
A CAD file is a mathematically perfect model. A casting is not. Metal shrinks as it cools, and if that shrinkage isn’t compensated for in the CAD scaling, prongs come out of the mold slightly shorter, thicker, or unevenly spaced than the render showed. The second failure point is at the bench: a setter finishing prongs by eye instead of against a jig or the original CAD reference can true up the height but miss spacing, leaving a stone that sits level but is held asymmetrically.
This is a checkpoint problem more than a skill problem. Pre-set, a piece should get measured against its own CAD file — prong height, spacing, and taper — before a stone ever touches it. That comparison is fast and it’s the only place misalignment gets caught before it’s locked in permanently by a set stone.
On arrival, this is one of the easiest defects for a jeweler to spot without special tools: sight down each prong from the side and from above. Uneven height reads immediately, and a stone that sits slightly tilted rather than flat is a strong signal that the head wasn’t finished square before setting.
The shrinkage factor itself isn't universal — it's set per alloy in the CAD software, since 14k gold, 18k gold, and platinum contract at different rates as they solidify. A value carried over from a different metal's settings throws off prong height and taper in a way that reads as a bench error but actually started at the file stage.
Stone Chipping During Setting: Where Cut Tier Actually Matters
This is the defect category where cut shape changes the risk profile the most. Round Brilliants are the most forgiving shape to set — the curved girdle distributes prong pressure evenly with no corner to protect. Step-cut shapes in the regular fancy tier — Emerald and Asscher specifically — have hard 90-degree corners that are the single most chip-prone feature on the stone; a prong closed too fast, or a bur cut slightly undersized, will crack a corner before the setter notices resistance. Pointed shapes like Pear, Marquise, and Heart have the same problem at their tips.
Antique-tier cuts add a second layer of risk on top of shape. Old Mine, Old European, Kite, Lozenge, and the rest of that family don’t share the standardized proportions of modern calibrated stones, so a setter working from a stock jig instead of the specific stone’s actual dimensions is setting blind. These stones are effectively always custom-fitted, and setting them like a commodity Round is how chips happen.
The checkpoint here is immediate: every stone gets a 10x loupe pass right after it’s set, not at the end of the production run. Pressure cracks and corner chips are visible at that magnification and they don’t get more visible later — they just get shipped if nobody looks.
On arrival, rotate the stone under a raking light (light coming in low and to the side, not straight down) and look specifically at the culet and at any corners or points. A pressure crack often shows as a faint feather line radiating from the culet rather than an obvious chip, which is why straight-down lighting misses it.
The standard fix for corner risk on Emerald and Asscher is a V-prong or corner-protected head that cradles the corner instead of pressing straight down on it. Pear and Marquise get the same treatment at their tips, and a bezel setting sidesteps the risk almost entirely by wrapping metal around the edge instead of pinching from four or six points.

Finish Inconsistency: The Small Stuff That Erodes Trust Fastest
Porosity and chipped stones are dramatic failures. Finish inconsistency is the quiet one — uneven rhodium plating, tool marks left in a spot the polisher rushed past, a stamp that’s shallow or off-center. None of it affects durability, but it’s the first thing a customer’s eye catches under a jeweler’s countertop lighting, and it’s the fastest way a piece reads as “not quite right” without anyone being able to say exactly why.
The usual causes are rushed final polish — tight areas like under a halo or inside a narrow shank take real time to reach, and that time gets cut first when a schedule is tight — and plating applied without checking thickness or adhesion. The checkpoint is a final inspection pass specifically for finish, separate from the structural QC pass, because a piece can be structurally perfect and still look unfinished in the spots nobody wanted to spend the extra two minutes on.
On arrival, check three specific places: under any halo or accent stones (the most commonly skipped polish zone), inside the shank where it isn’t visible while worn, and around the hallmark or stamp, which should be crisp and legible, not shallow or smudged.
It's worth separating finish defects from finish wear. White gold is rhodium plated for its bright white color — platinum doesn't need that step, which is why the two feel different in hand at the same color. Rhodium wears down with normal contact over six months to two years; a faint yellow tint a year in is expected wear, resolved with a re-plate. Uneven plating out of the box — patchy coverage, a visible stop line — is the actual defect.
Sizing-Related Weak Points: Where Good Work Gets Undone
A resize introduces a solder joint into metal that didn’t have one, and that joint is close to never as strong as the parent metal around it — which is fine, as long as it’s built correctly and checked afterward. Problems show up when a shank gets stretched further than the metal comfortably allows, thinning it at the joint, or when the resize process shifts tension on stones set near the shoulder without anyone rechecking that those stones are still secure afterward.
The checkpoint is a post-resize recheck, not just of the joint itself but of every stone on the piece — a resize that goes cleanly at the shank can still loosen a prong three positions away if the piece was flexed during the process. Eternity and wedding band styles deserve specific attention here, since a full-eternity band has stones running the entire circumference and a resize has to pass through set stones rather than an open section of shank.
On arrival, inspect the joint seam for pitting or an uneven color match to the rest of the shank, and re-test overall stone tightness on the whole piece, not just near the resize point.
Laser welding versus torch soldering matters too — a laser weld localizes heat to a pinpoint, safer near heat-sensitive stones, while a torch spreads heat wider and raises the odds of loosening something unrelated to the resize. Shank profile sets a practical limit too: a comfort-fit or knife-edge shank stretched more than half a size or two distorts out of round rather than thinning evenly.
The QC Checkpoints That Should Already Be Catching These
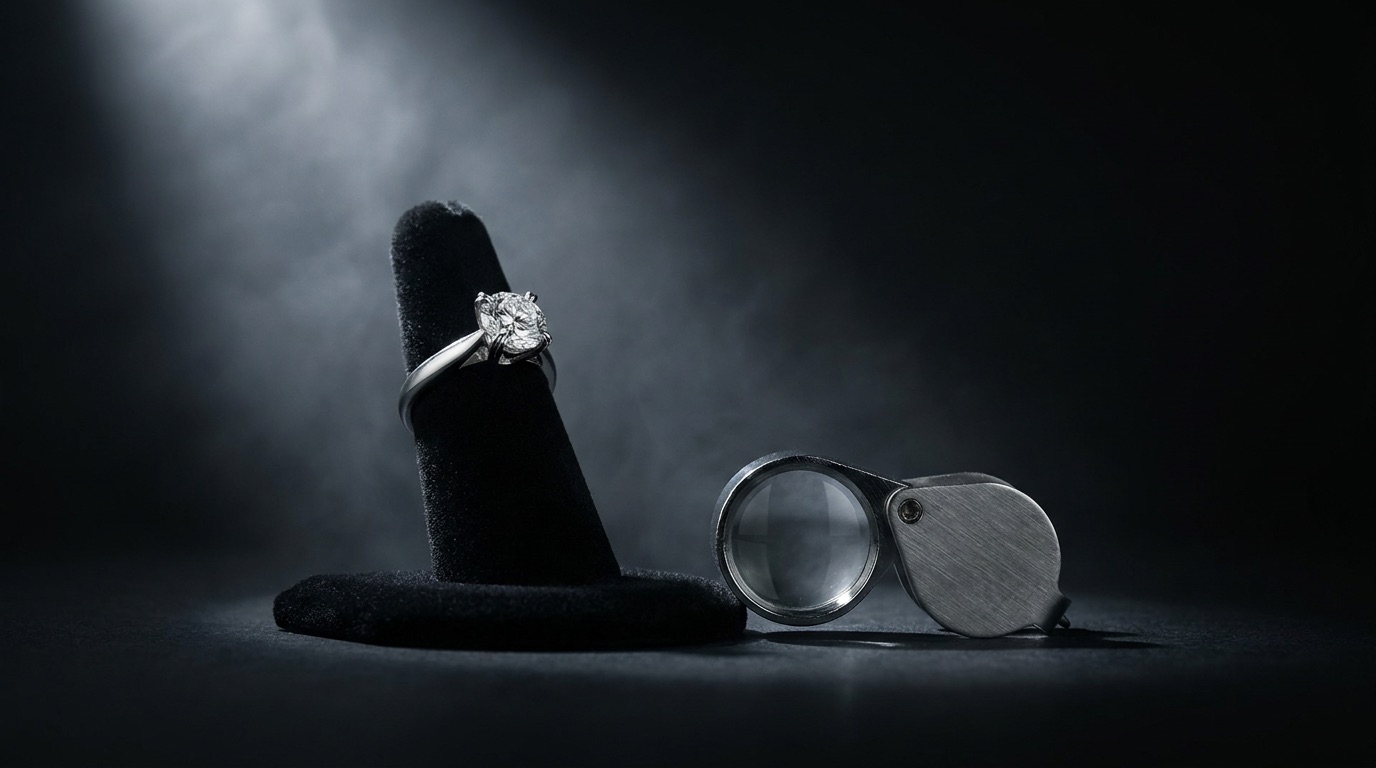
For a jeweler evaluating a manufacturing partner, the real question isn’t whether defects are possible — they’re possible in any casting and setting process — it’s whether a checkpoint exists at each stage to actually catch them. That looks like:
- A post-cast visual and weight check before any stone is set
- A pre-set dimensional check against the original CAD file
- A 10x loupe inspection immediately after each stone is set, not batched to the end of the run
- A separate finish inspection for polish and plating, distinct from the structural check
- A post-resize recheck of the joint and of stone security across the whole piece
That’s easiest to guarantee when cutting, setting, and polishing happen in-house under one roof rather than across several outsourced manufacturing partners, since each handoff between vendors is a point where a defect can slip through without anyone owning the catch. A custom piece that moves from CAD approval to finished jewelry in a matter of days isn’t skipping these checkpoints to hit that speed — they’re what keeps the fast timeline from turning into a rushed one. If you’re weighing whether to consolidate production under fewer vendors to close these gaps, that’s the core case for working as a trade partner with a single manufacturer instead of managing separate shops independently.
What to Ask a Manufacturing Partner Before You Place a Production Order
The five checkpoints above are specific enough to ask about directly. A vendor who says "we do quality control" without being able to answer these hasn't had to think about where corners could get cut:
- At what stage does a cast piece get weighed or inspected before any stone touches it — against the CAD file, or just visual judgment?
- Is prong height and spacing checked against the original CAD dimensions before setting, or assessed by eye once the stone is in?
- Does every set stone get a loupe pass immediately after setting, or is inspection batched to the end of a run?
- Is finish — polish and plating — inspected separately from structural integrity, or treated as the same pass?
- After a resize, is it just the joint that gets rechecked, or every stone on the piece?
- Are cutting, setting, and polishing handled under one roof, or does the piece move between multiple outsourced shops?
That last question is worth weighting heavily. Every handoff between separate vendors is a point where a defect can pass through without anyone accountable for catching it — the caster assumes the setter will notice a problem, the setter assumes the caster already checked, and a real issue slides through the gap. What separates a workable manufacturing relationship from a frustrating one is whether a defect that slips through gets traced back to the stage that missed it — a porosity issue fixed by remaking the casting, a chip fixed at the bench on that piece — or whether it turns into a guessing match.
How Guru Diam's In-House QC Process Works
Guru Diam runs cutting, setting, and polishing in-house rather than routing a piece through separate outside shops, which is what makes the checkpoint list above enforceable rather than aspirational — one production floor tracks a piece from cast to finished, not three vendors each assuming someone else already checked it. A cast piece gets weighed and visually inspected against its CAD file before any stone is set. Prong height, spacing, and taper get measured against that same CAD reference pre-set, not eyeballed. Every stone gets a 10x loupe pass immediately after it's set, not batched to the end of a run. Finish gets its own separate inspection for polish and plating, distinct from the structural check, because a piece can pass structural QC and still look unfinished under a halo. A resize triggers a recheck of the joint and of stone security across the whole piece.
This is also what makes a short production window realistic instead of a corner-cutting risk: custom rings finished in 4–6 days hold to the same five checkpoints as a piece built on a longer timeline — the speed comes from not waiting on outside vendors between stages, not from skipping stages. Pieces ship unbranded by default, so a jeweler placing a wholesale order is reselling a piece that passed this process under their own name.
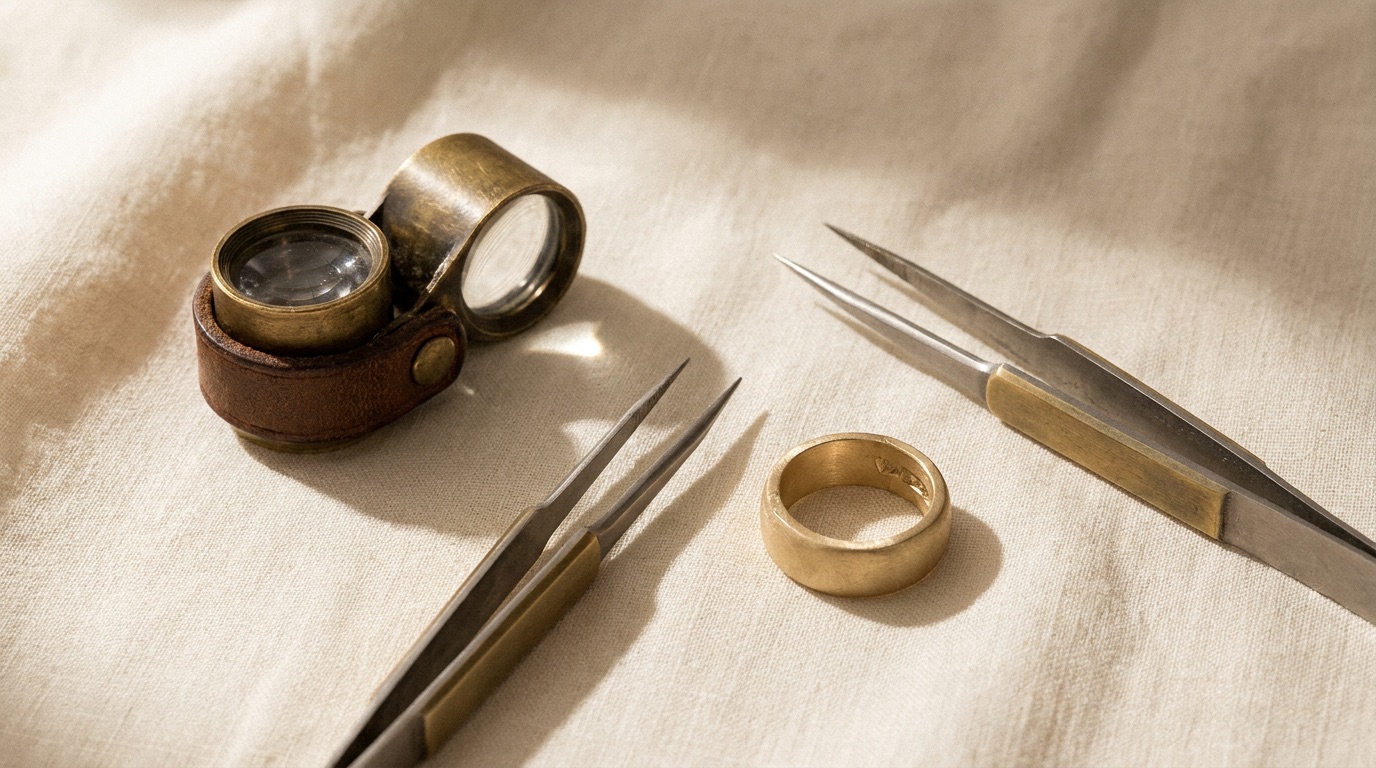
Certification and Documentation That Should Travel With the Piece
Casting and setting QC covers the metal and the mounting, but a wholesale buyer is also checking that the paperwork matches the stone. A center stone above roughly 0.30 carats should arrive with lab certification — IGI, GIA, or GCAL are the labs worth asking for by name — and the certificate should list the same carat, color, clarity, and cut grade as what's actually mounted. A mismatch is rare but worth a quick cross-check on a higher-value order, especially if a stone was reset.
Melee and accent stones are a different category. Calibrated melee ships as parcel goods against a DEF+/VS+ color-and-clarity baseline rather than individually or parcel-certified stone by stone — the volume makes individual grading impractical, and no legitimate supplier should represent loose melee as "certified" the way a solitaire center stone is. What a jeweler can verify instead is that a parcel matches the baseline it was ordered against, spot-checked under a loupe against a reference stone.
Batch Consistency Across Repeat Orders
A single custom piece only has to pass QC once. A standing wholesale order — the same setting style produced ten or fifty times across multiple runs — has to pass it consistently, a harder problem. Batch drift is rarely one dramatic defect; it's small things compounding: a bur size that's close enough on one run, a polisher spending slightly less time in a tight recess when the schedule is compressed. None of it fails inspection on any single piece, but line up ten side by side and the drift is visible — prongs subtly different heights, a finish a shade brighter or duller piece to piece.
The fix is the same checkpoint list applied per production run, not just per piece: measuring the fifth casting against the same CAD reference as the first, rather than assuming a process that worked once will hold on its own. That matters more for a trade buyer than a retail customer, since a reorder is a bet that the next batch matches the last one closely enough that nobody notices a difference. Guru Diam applies this across a base of 2,000+ active trade accounts placing repeat orders.
Frequently Asked Questions
What’s the most common casting defect that reaches a jeweler’s counter?
Porosity and finish inconsistency are the two most common, mainly because both can pass a quick surface glance without magnification. Porosity is a metal-integrity issue from the casting stage; finish inconsistency (uneven polish or plating) is cosmetic, from the final finishing stage. Neither shows up without deliberately checking for it under a loupe or raking light.
How can a jeweler tell if a diamond was chipped during setting rather than after?
A setting-stage chip is usually at the culet or a corner/point of the stone, close to where a prong or bur made contact, and often shows as a faint feather line rather than an obvious break. A wear-related chip tends to be at the girdle or table edge, away from the setting contact points, and comes with other wear signs like scratches on the surrounding metal.
Are step-cut shapes like Emerald and Asscher more prone to chipping than round stones?
Yes. Emerald and Asscher are regular fancy-tier cuts with hard 90-degree corners, inherently more chip-prone than the continuously curved girdle of a Round Brilliant. They need corner-protected prongs or a bezel; a setter working too fast or using an undersized bur at the corner is the most common cause of chipping on these shapes.
Do antique cut diamonds need different setting handling than modern cuts?
Yes. Antique cuts like Old Mine, Old European, and Kite don’t share the standardized proportions of modern calibrated stones, so they’re effectively always custom-fitted rather than dropped into a stock mounting. Setting them against a generic jig instead of the stone’s actual dimensions is a common cause of chipping and misalignment on antique-cut pieces.
Does resizing a ring after it’s finished create new defect risk?
It can. A resize adds a solder joint that’s typically not as strong as the surrounding metal, and the process of stretching or cutting the shank can shift tension on stones set elsewhere on the piece. A proper post-resize check includes both the joint itself and a recheck of stone security across the whole piece, not just at the resize point.
What should a jeweler physically check within the first few minutes a piece arrives?
Five things cover most of what matters: sight down the prongs for even height and spacing, rotate any stone under raking light to check the culet and corners, loupe the shank interior and gallery for porosity, check under any halo and inside the shank for finish consistency, and confirm the hallmark is crisp. All five take a few minutes combined and catch the large majority of defects before a piece reaches a showcase.