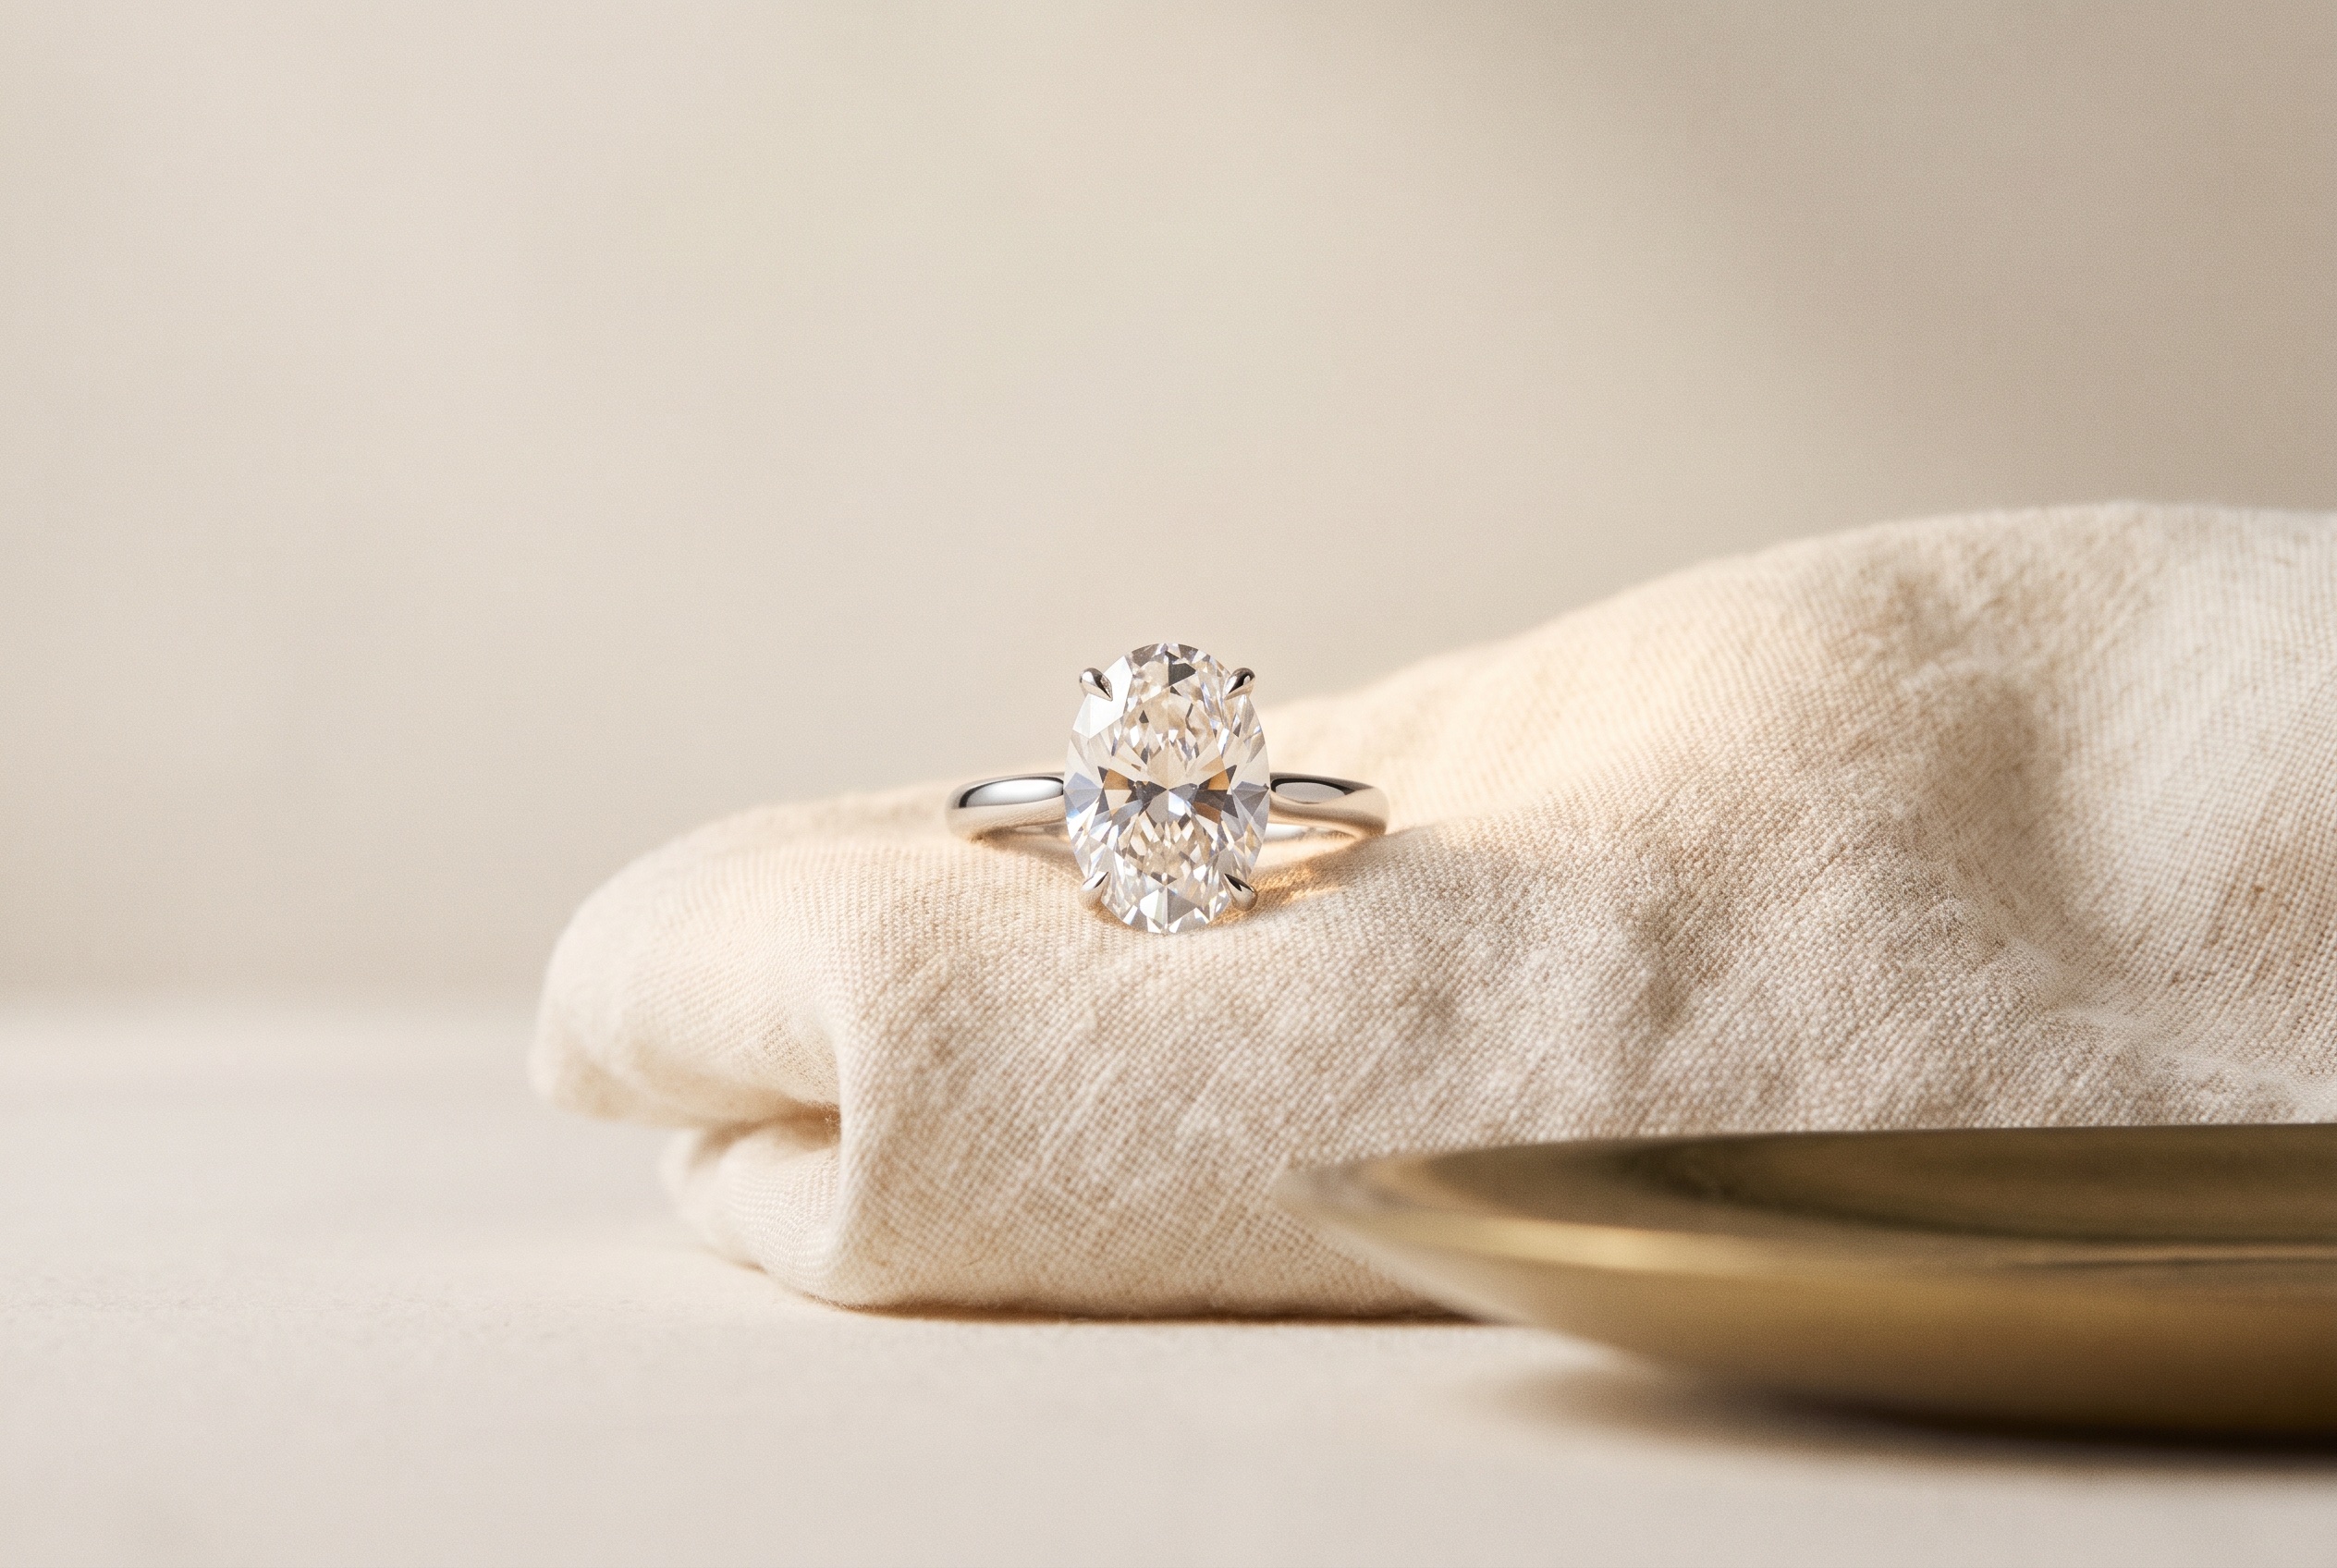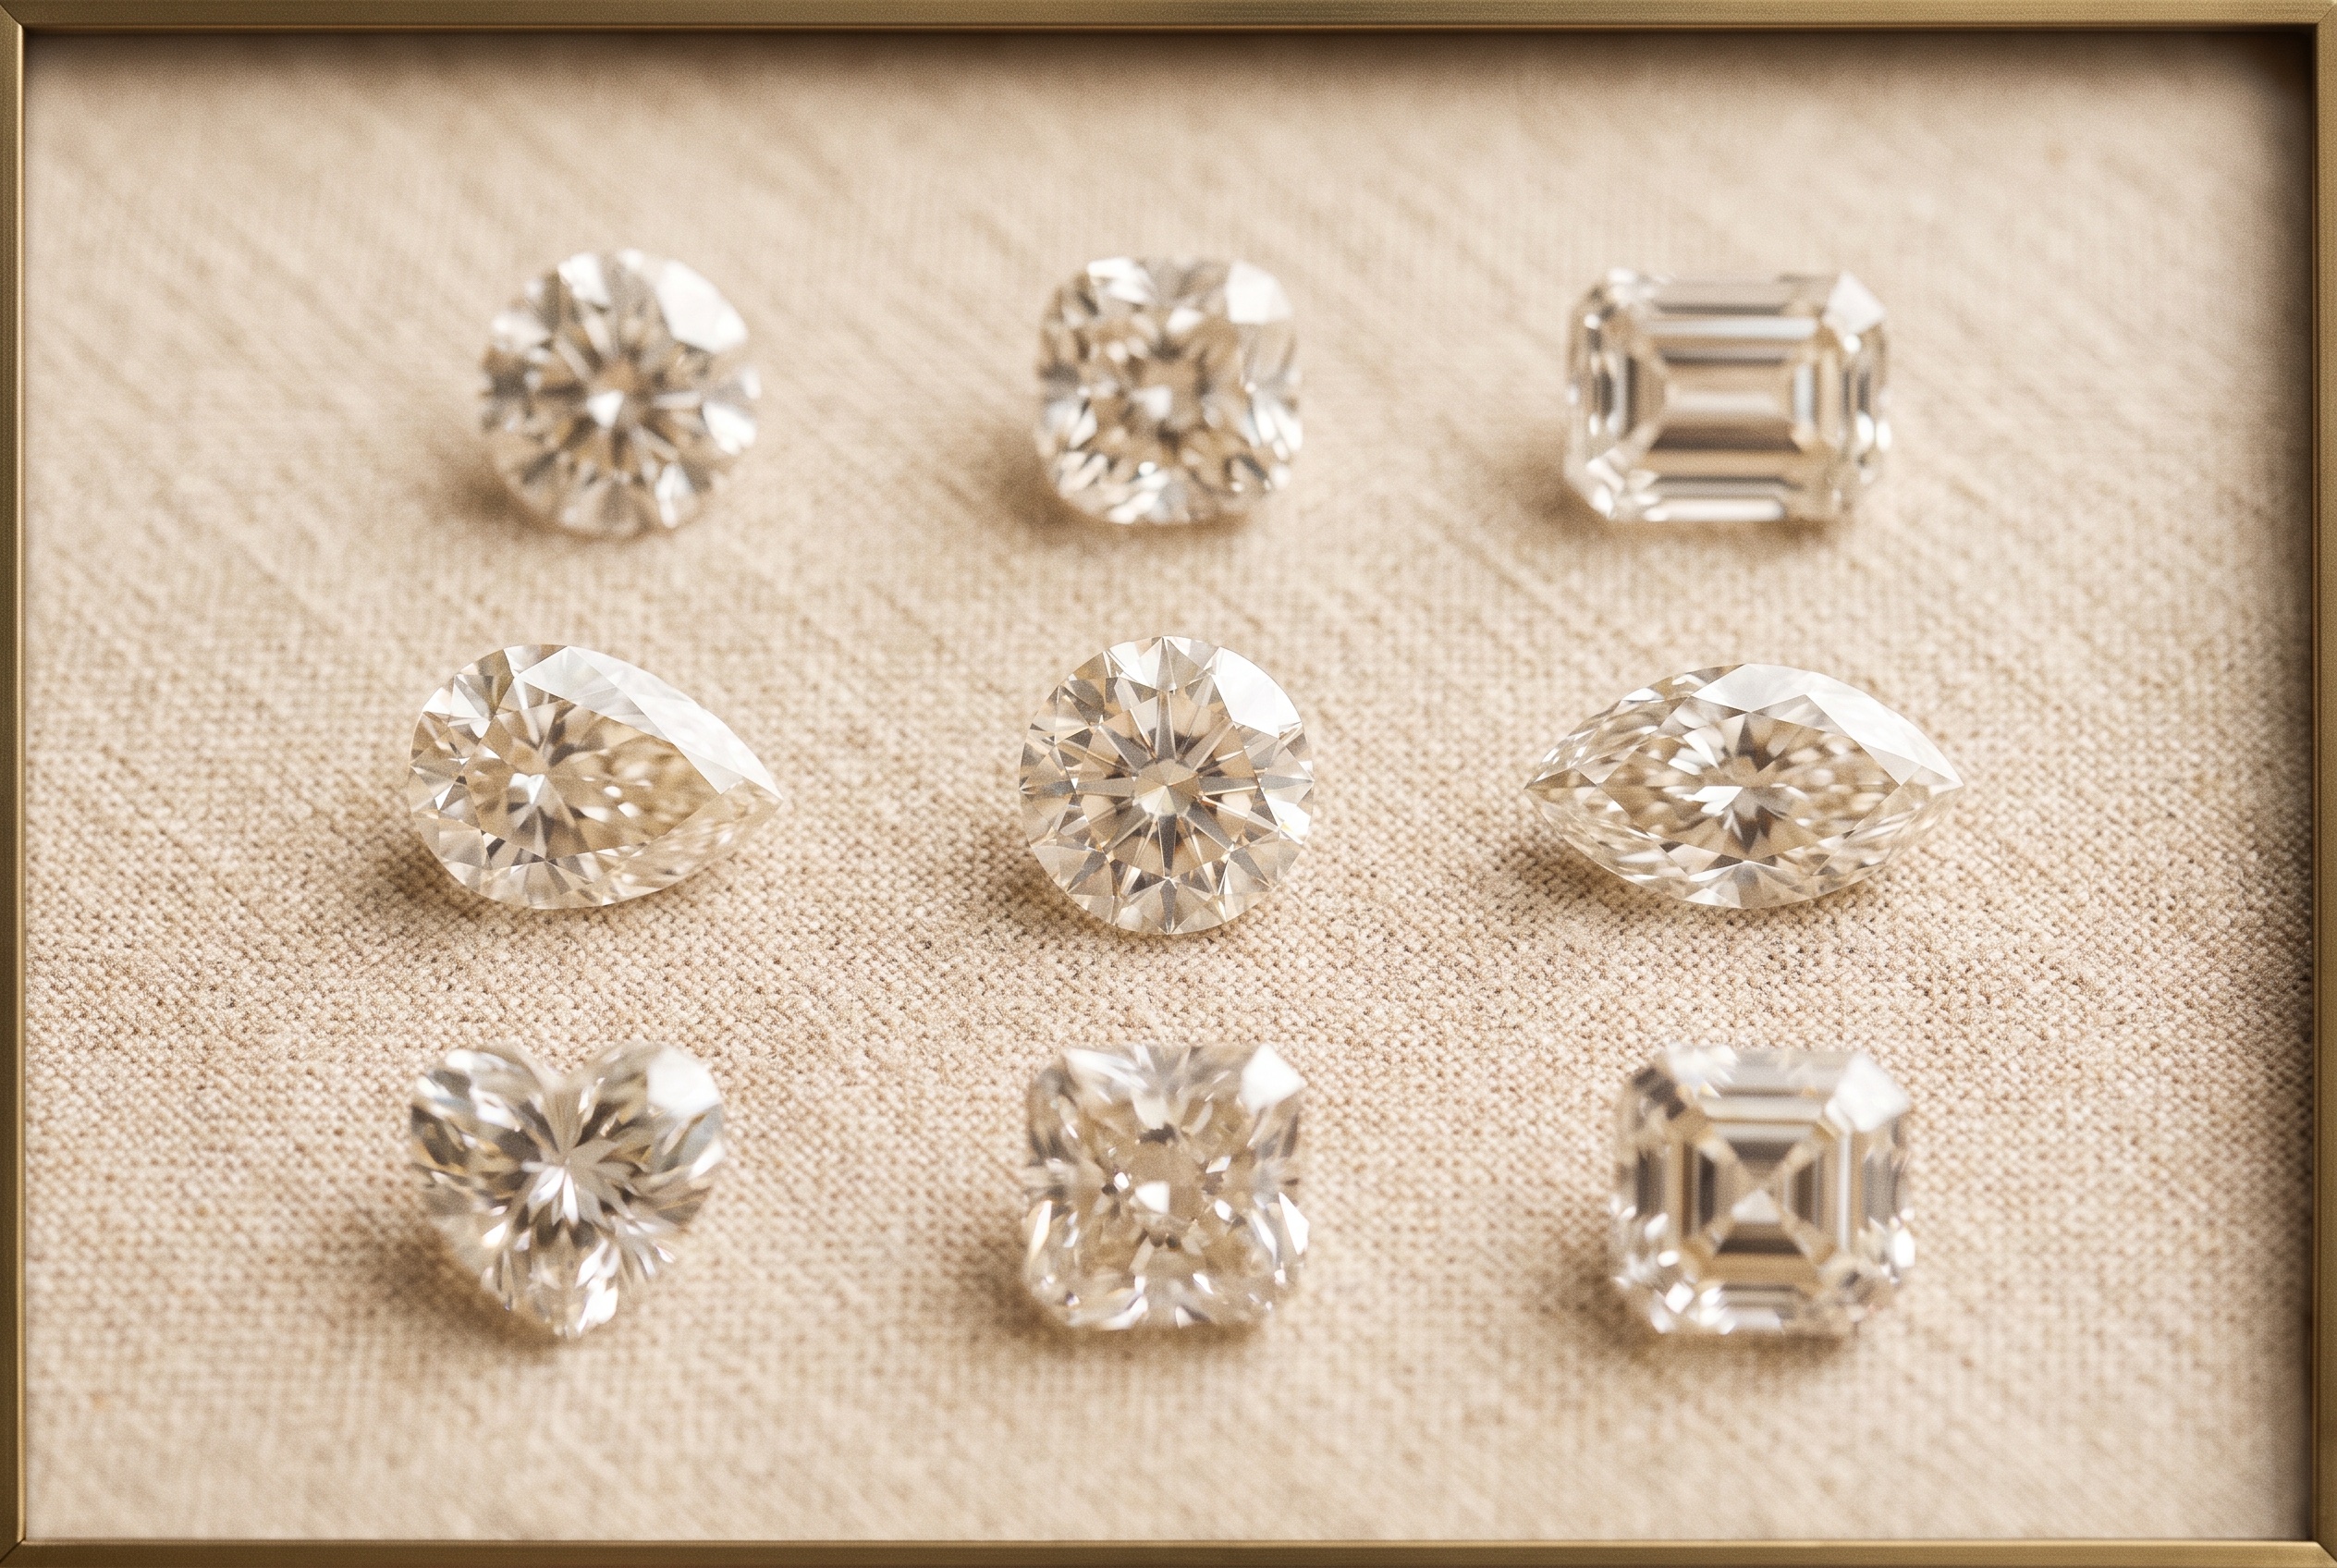


Before you approve a CAD file, check six things in this order: proportions against the actual order spec, prong placement and count relative to the stone shape, metal weight against the quote, stone seating depth against the real stone size, comfort and wearability of the shank and gallery, and engraving space on the interior surface. Every one of these is easy to fix in CAD and expensive to fix after casting — a re-cut prong or a re-cast shank is a remake, not an edit. If your CAD reviewer only looks at the face-up glamour shot before hitting approve, you're skipping the checks that actually catch problems.
This is the inspection checklist itself, expanded with how to read a file if you're not a CAD person, the mistakes that let bad approvals through, and how to talk to a manufacturing partner so a revision round actually resolves something instead of restarting the conversation. If you want the step-by-step of how a request moves from sketch to CAD to production, that's covered separately — this post is about what your eyes should be doing, and what your words should say, while the render is on screen.
Why CAD Approval Is the Highest-Leverage Checkpoint in a Custom Order
Once a CAD file is approved, it drives the casting master. A stone-seating error, an undersized prong, or a shank that tapers wrong doesn't get "corrected" downstream — it gets cast into metal, and now it's a return, a rework, or a re-cast from scratch. For a manufacturing process built around fast turnaround on finished custom pieces, a missed CAD error is the single biggest thing that turns a clean job into a delay, because it resets the clock back to design instead of moving forward to casting.
That's the practical argument for slowing down at approval, even when a client is waiting and the render looks right at a glance. CAD is cheap to revise. Cast metal is not. Every other checkpoint in a custom order — intake, sketch approval, final QC before shipping — either happens before the design is locked or after the piece already exists. CAD approval is the one moment where the design is fully specified but nothing irreversible has happened yet. That's what makes it the highest-leverage two minutes in the entire order.
The leverage compounds for a retailer running more than one custom build at a time. A single missed check on one order is a delay and an awkward conversation with a client. The same miss repeated across a run of orders — because the reviewer never built a consistent checklist habit — turns into a pattern of remakes that quietly erodes margin on every custom piece the account sells, even though each individual case looks like an isolated mistake. Treating CAD approval as a fixed routine rather than a judgment call each time is what prevents that pattern from forming in the first place.
It's also the point where a retailer's own credibility with the end client gets set. A client who approved a rendering from their jeweler is trusting that the jeweler already did the technical pass. If a detail slips through and shows up in the finished piece — a prong that's visibly too heavy, a shank that pinches — the client doesn't distinguish between "the manufacturer's CAD department missed it" and "my jeweler approved this without checking." The review happens on the manufacturing side too, but the retailer's sign-off is the one the client actually sees.
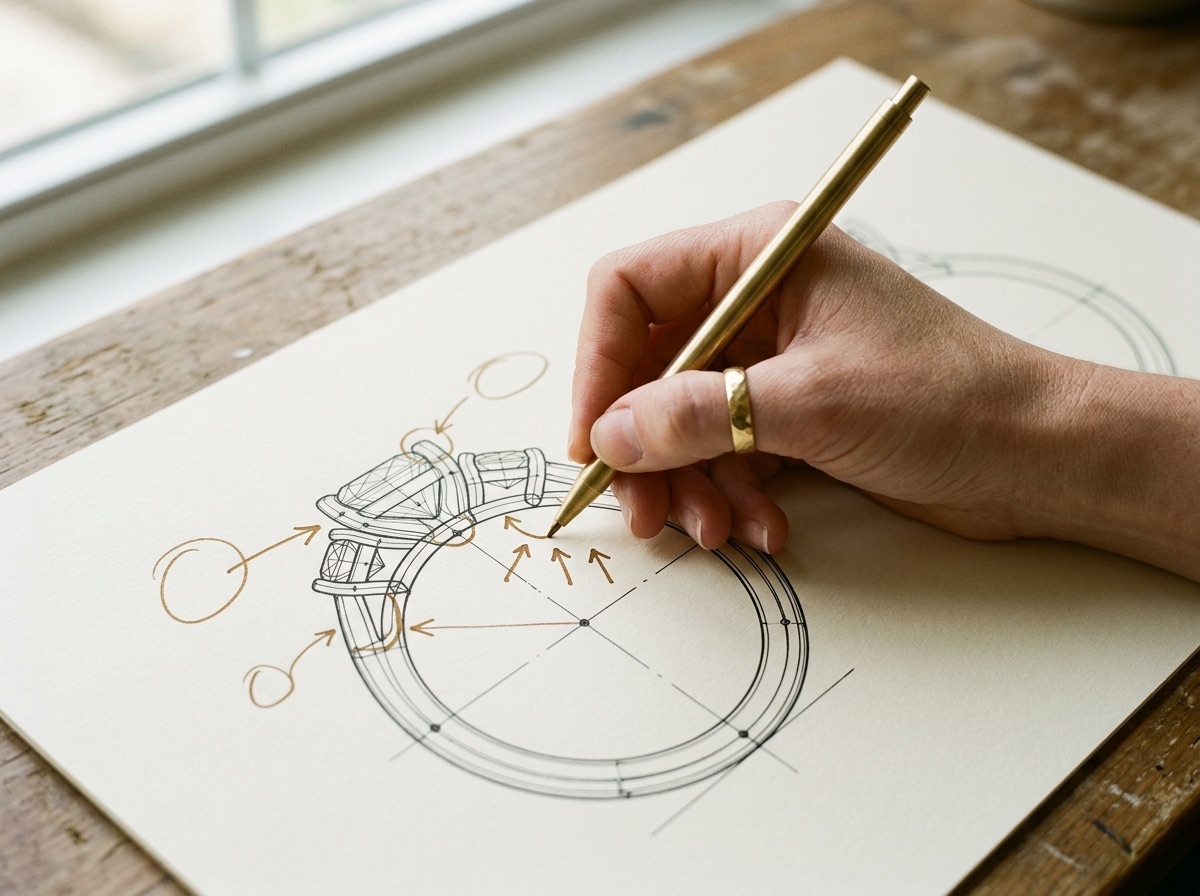
The CAD Approval Checklist: What to Review on Every Render
Six categories cover nearly everything that goes wrong between an approved CAD file and a finished piece that fits, wears, and looks right. Work through them in this order rather than reviewing free-form — face-up appeal comes last on purpose, because it's the easiest thing to get right and the thing most reviewers check first.
Proportions and Overall Scale
Before touching any of the detail checks, confirm the render is actually built to the order's scale. CAD software displays a design at whatever zoom the viewer last left it at, and a ring shown large on screen can look identical in proportion whether it's built for a size 5 finger or a size 9. Check the stated ring size, the head-to-shank ratio, and the overall silhouette against the reference the client approved — not against what looks pleasing in isolation. A design that was scaled up or down from a template without re-checking proportions is one of the more common ways a piece comes back "off" in a way nobody can immediately name; the individual elements are all present, just not sized correctly relative to each other.
Prong Placement and Count
Prong count depends on shape, not preference. A round stone can carry four or six prongs safely. A shape with pointed corners — pear, marquise, an antique cut like Kite or Trillion — needs a prong or a V-tip specifically protecting that point, because a standard round prong tip will chip a fancy-shape corner over time. Placement matters as much as count: prongs should sit symmetrically around the girdle, angled to hold the stone's actual outline rather than a generic round approximation of it. On elongated shapes, check that the prongs at the narrow ends are positioned to support the point without covering enough of it to visibly reduce the face-up size of the stone.
Metal Weight and Thickness
Every CAD program renders an exact weight based on the metal density assigned to the file. This is one of the easiest checks to skip and one of the most consequential to miss — if the file is set to the wrong alloy density (a sterling silver density value left over from a template, for example, instead of the actual 14k or 18k gold being cast), the rendered weight will be wrong and the piece will come in off-quote. Thickness matters independently of weight, particularly at the prongs: a thin prong on a large stone won't survive re-tipping later in the piece's life — it's already at its structural limit the day it's cast. A too-thick prong on a small stone does the opposite problem: it visually overwhelms the stone and blocks light entry from the side. Confirm the rendered weight against the quoted weight before approval, not after the casting invoice arrives.
Stone Seating
Every stone sits in a seat cut to a specific depth, and that depth has to match the girdle position of the actual stone going into it — not a generic stone of roughly that size. Too shallow, and the stone sits proud: it catches on fabric, takes the brunt of impact, and puts stress directly on the prong tips. Too deep, and the stone is recessed below the metal line, which kills light return and can make a well-cut diamond look dull once it's set. Check this from a side or profile render, never the face-up view — face-up hides depth entirely. For a pavé row or a halo, check every seat, not just the center stone. A common source of returns is a seating cut sized for the average stone in a parcel when one stone in the row runs slightly larger or smaller than the rest.
Comfort and Wearability
This covers the shank and the gallery together, since both drive how the piece actually feels on a hand rather than how it photographs. Look at the shank from the side, tracing it from under the head back to the shoulders. It should taper gradually if that's what was specified — an abrupt step reads as a manufacturing shortcut and wears uncomfortably at the knuckle. Confirm the profile matches what was actually ordered: comfort-fit versus a flat interior, half-round versus knife-edge. Then flip the render or request an underside view for the gallery. Gallery height under the head matters on both sides: too little clearance and a finger catches on the underside; too much and stones sit loose in a basket that flexes. This is also where sizing room lives — if the piece is likely to need resizing later, check that the design doesn't rely on a soldered rail, a texture, or an engraving pattern that runs continuously through the point where a jeweler would cut to size. A pattern that stops cleanly at the shoulders survives resizing; one that wraps the full shank doesn't.
Engraving Placement
If engraving was requested, check the interior surface of the band in CAD, not just that a note was left in the order. Confirm the flat (or near-flat) interior width is wide enough for the requested character count at a legible size, and that the ring's curvature at the intended size won't distort or compress the text. This is a five-second check in CAD and a re-cast if it's caught after the fact.
What Each Render Angle Actually Shows You
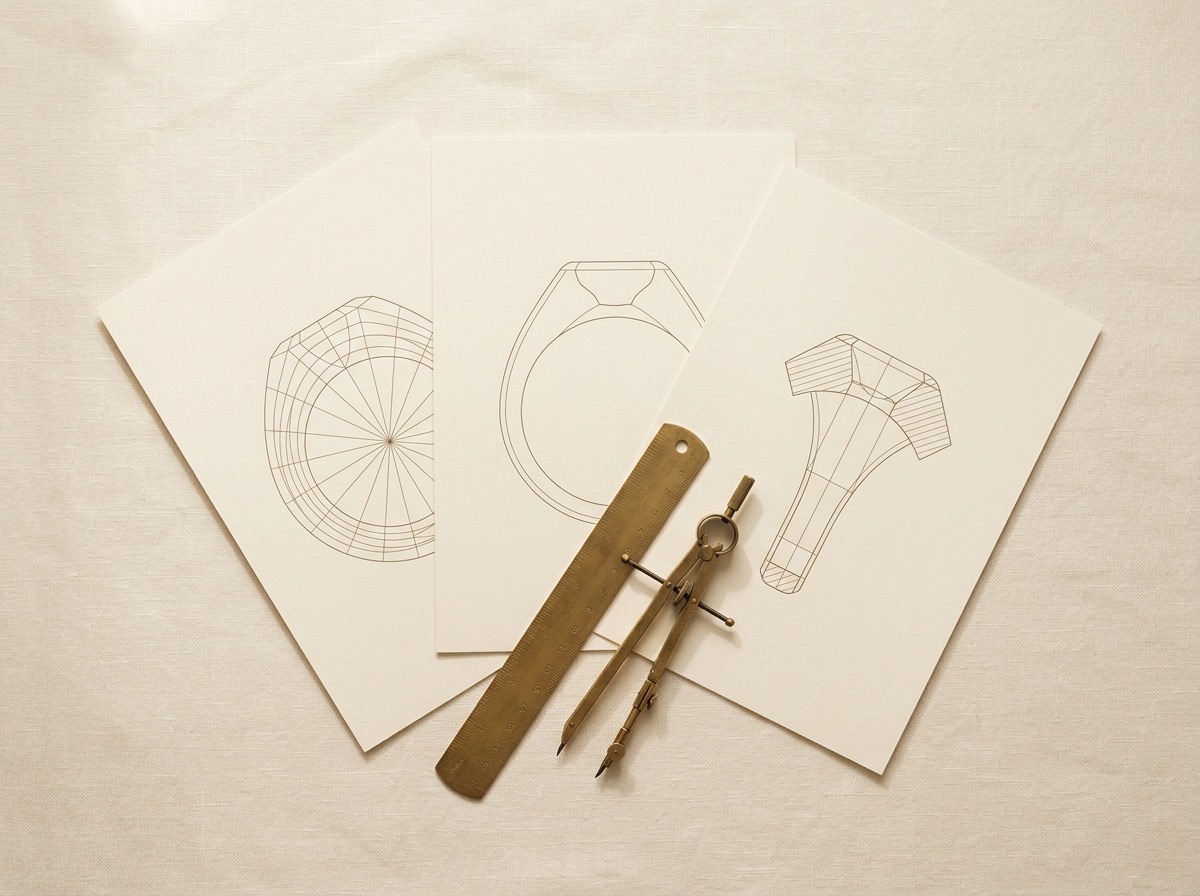
A single face-up render answers almost none of the checklist above. Here's what to request and why.
| Render Angle | What It Reveals | What It Hides |
|---|---|---|
| Face-up (top-down) | Overall design, stone layout, symmetry | Seating depth, gallery clearance, shank profile |
| Side/profile view | Stone seating depth, shank taper, prong height | Underside clearance, engraving surface |
| Underside/gallery view | Prong seat cuts, gallery clearance, basket structure | Face-up proportions |
| Cross-section | True seating depth, metal thickness at stress points | Full-piece proportions |
| Weight/spec sheet (not visual) | Rendered gram weight, metal density used | Nothing visual — pair with a render |
If a CAD file arrives with only a face-up render, ask for at least the profile and underside views before approving. It's a normal request, not a special one — a design that can't be shown from those angles usually hasn't been fully resolved yet either.
How to Read a CAD File If You're Not a Technical Buyer
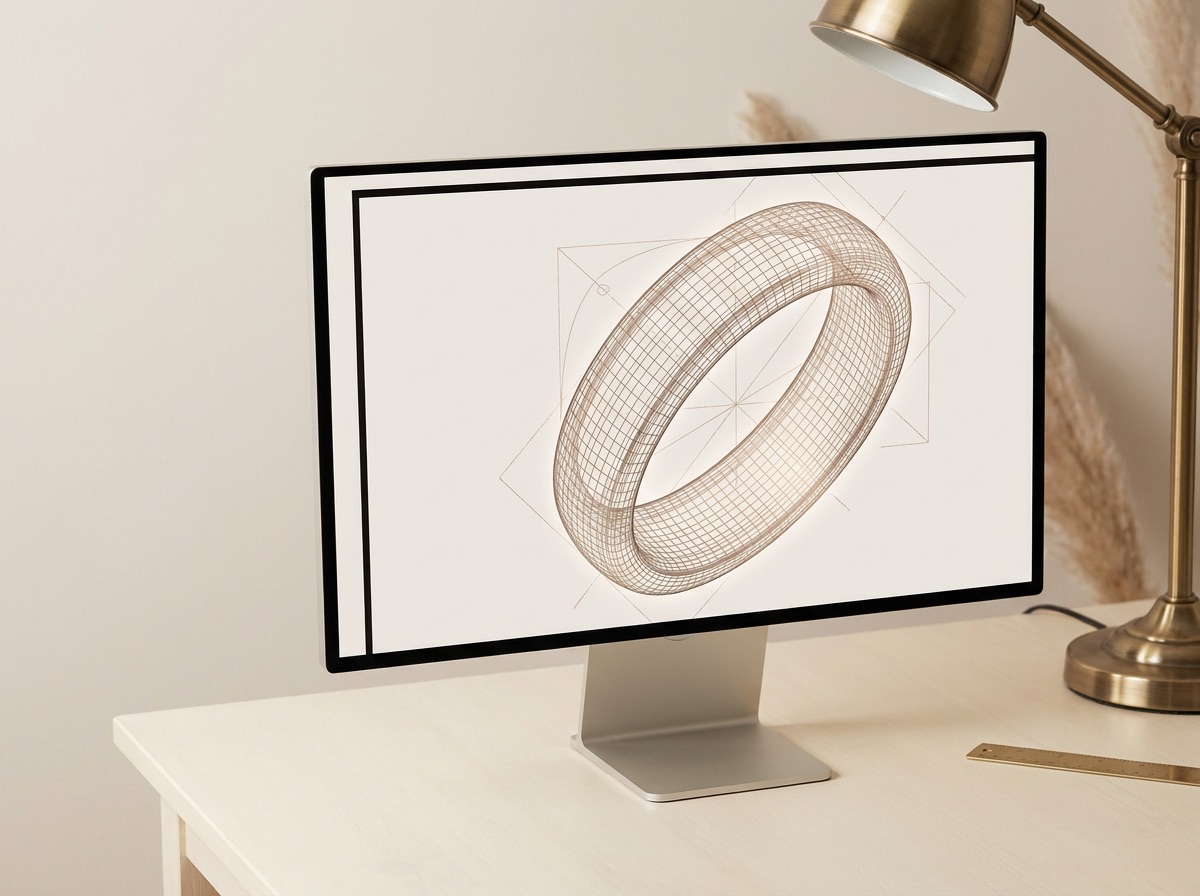
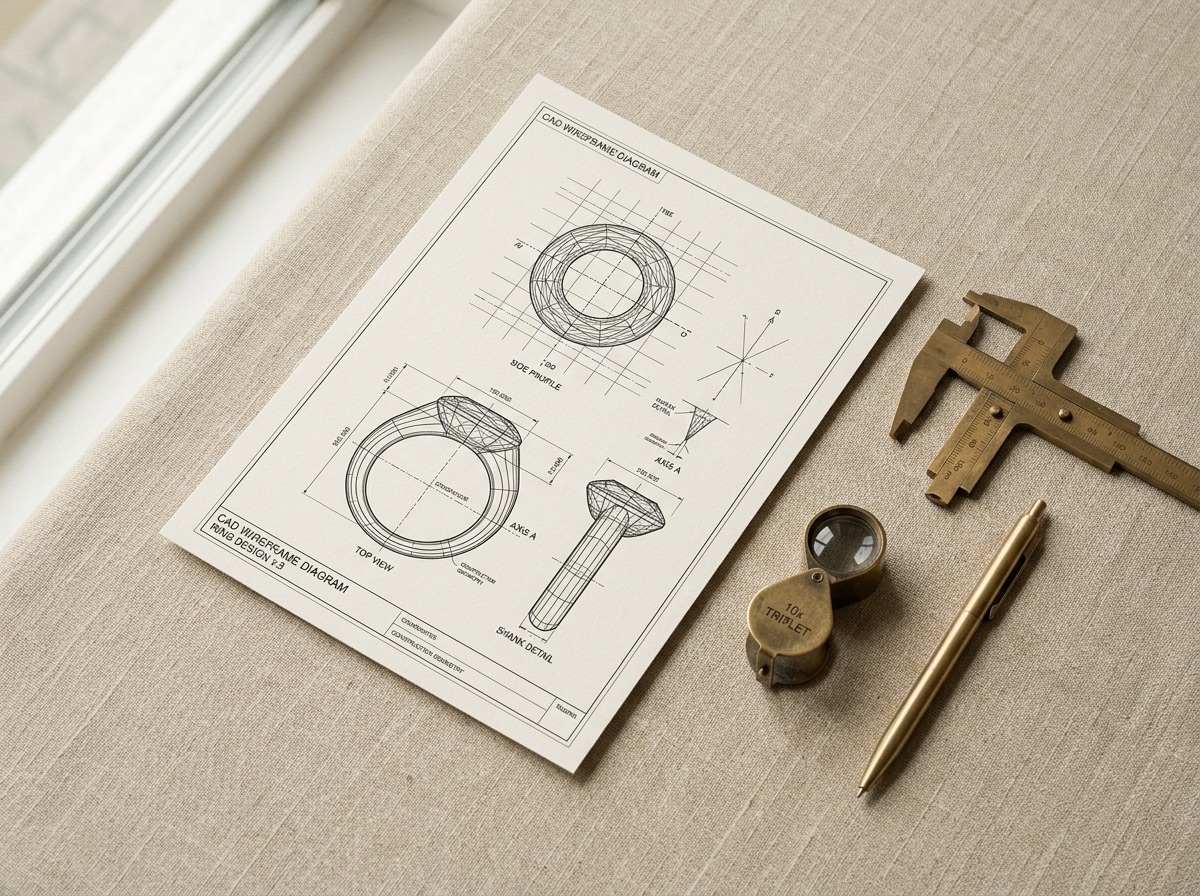
You don't need CAD software experience to review a file competently — you need to know what a handful of terms mean and where to look for them. A render is the finished-looking image the CAD program produces once the design is complete; a wireframe is the underlying mesh of construction lines, useful mainly to the designer, not something you need to interpret yourself. The gallery is the open space under the stone, visible from the underside view — that's where clearance and polish access live. The shank is the band itself, and the head is the structure holding the center stone, including the prongs or bezel. A seat is the cut surface a stone rests in, whether that's a prong tip, a bezel wall, or a pavé cup.
Most CAD delivery includes a spec sheet alongside the visual renders — a short list of numbers: metal type, rendered gram weight, ring size, stone count, and sometimes prong count. Treat that sheet as the fastest sanity check available: compare it line by line against the order and the quote before you look at a single image. Numbers that don't match are far easier to catch on a spec sheet than by eyeballing a render.
For anything unusual — a first-time design, an antique-style setting, a shape you don't handle often — ask for a physical resin or wax print alongside the digital render. A printed model lets you physically check prong height and gallery clearance in a way a screen render can approximate but not fully replicate, and it doesn't require any CAD literacy at all. You're holding the actual proportions in your hand.
Finally, don't let render quality substitute for technical accuracy. A beautifully lit, photorealistic render can still have a seating depth that's wrong or a prong that's undersized — the rendering engine makes metal and stones look good regardless of whether the underlying geometry is correct. Polish and lighting are not proof of a sound design; they're proof the designer knows how to use the software's presentation mode.
Common CAD Approval Mistakes Retailers Make
- Approving from a phone screenshot. A render compressed and scaled down for a text message hides seating depth and gallery clearance even more than a face-up view does on a full screen. Open the actual file or a full-resolution image before signing off.
- Reviewing face-up only. The single most common gap. Face-up shows off the design; it hides almost every structural problem covered in the checklist above.
- Not cross-checking the order and the quote. Stone size, metal type, and ring size can drift between intake and CAD if a note gets miscopied along the way. The CAD file should match the order it was built from, and that's a specific, checkable fact — not an assumption.
- Giving feedback in adjectives instead of measurements. "Make it more elegant" or "less bulky" gives the CAD designer nothing to act on precisely, which is how a design ends up needing three rounds to fix what one specific, measured note would have solved.
- Treating every revision request as a problem with the manufacturer. A first-round revision on a custom piece is routine, not a sign something went wrong. Reviewers who feel embarrassed asking for changes tend to under-request, which pushes issues downstream instead of catching them here.
- Letting the client's yes stand in for your own technical pass. A client can confirm they like how a design looks without being positioned to catch a seating or prong issue — that judgment is the retailer's job, not something to outsource to client enthusiasm.
- Missing carried-over template defaults. CAD files sometimes start from a previous design and inherit a shank profile, metal density, or prong style that doesn't match the current order's spec. It's an easy miss precisely because nothing about it looks wrong — it looks like a normal, competently rendered ring, just not the one that was ordered.
How Many Revision Rounds Are Reasonable Before You Flag a Problem
Most single custom pieces resolve within two or three rounds once the checklist above is applied consistently at each pass. That number holds across most design complexity — a straightforward solitaire and a moderately detailed halo both tend to land in that range when the reviewer is checking the same six categories each time rather than noticing something new on every pass.
What pushes a project past that range is rarely the design itself — it's usually one of a few root causes. The most common is an unclear initial brief: a reference photo without measurements, or direction like "something like this but different" that leaves the designer guessing at exactly which details to change. The second is feedback that arrives in adjectives rather than specifics, which turns each round into another guess rather than a targeted fix. The third is feedback delivered piecemeal — one note today, another tomorrow — which means the designer is never working from a complete picture and ends up needing a round to catch up on requests that could have been batched into one.
If a design is heading into a fourth or fifth round and none of those causes apply — the brief was clear, the feedback was specific and complete, and the file still isn't converging — that's the signal to get on a call rather than send another round of written notes. Some structural mismatches (a stone shape fighting a setting style, a design that doesn't actually work at the requested proportions) are faster to resolve by talking through the constraint directly than by iterating blind through more renders.
Communicating CAD Changes Clearly to a Manufacturing Partner
The single biggest lever for cutting revision rounds down is how change requests get written, not how carefully the CAD file gets reviewed. A precise note against a specific render gets resolved in one pass; a vague note against the whole design gets resolved by guesswork.
- Reference the exact render angle. "On the profile view, the shank is too thick at the shoulder" tells the designer exactly where to look and what to measure. "The ring feels heavy" doesn't.
- Use measurements, not adjectives, wherever you can. "Reduce gallery height by roughly 0.3mm" is actionable. "Make it sit lower" invites a guess that may need correcting again next round.
- Annotate directly on the image. A circle and an arrow on the render itself removes any ambiguity about which prong, which facet, which section of shank you mean — faster to produce and faster to act on than a paragraph of description.
- Batch every change into one list per round. Send one complete set of notes rather than trickling feedback across several messages. A designer working from a partial list will reasonably assume it's complete and move to the next stage, which is how a change mentioned in a follow-up email gets missed entirely.
- Confirm the list was received and understood before assuming the next render will reflect it. A short acknowledgment costs nothing and catches a misread note before it costs a full round.
- Keep one running document per order rather than scattering requests across chat threads, emails, and calls. When a revision round takes longer than expected, the first useful question is usually "what did we actually ask for," and that's only answerable quickly if it's written down in one place.
Good CAD Review vs. Rushed CAD Review
The difference between a review that catches problems and one that doesn't usually isn't time spent — it's whether the six checkpoints get applied at all.
| Checkpoint | What a Good Review Catches | What a Rushed Review Misses |
|---|---|---|
| Proportions | Scale mismatch against the actual ring size and reference | A design that looks fine in isolation but is built off |
| Prong placement and count | Wrong prong style for the stone shape, asymmetric placement | A point-cut corner left unprotected until it chips in wear |
| Metal weight | Wrong alloy density before the quote is locked | An invoice dispute after the casting is already done |
| Stone seating | Depth mismatched to the actual stone, checked per stone in a row | A stone sitting proud or recessed, caught only after setting |
| Comfort and wearability | Shank profile and gallery clearance matched to the actual spec | A comfort complaint weeks after delivery, read as a quality issue |
| Engraving placement | Interior width and curvature checked before casting | Text that has to shrink or drop after the metal is already cast |
None of the items in the rushed column are dramatic failures on their own. They're small misses that share the same trait: cheap to catch in CAD, expensive to catch after.
How Guru Diam's CAD Process Works
Because CAD, cutting, setting, and polishing run in-house on the same production track, catching an issue at this stage means a fast revision rather than a queue restart — one reason it's worth the extra two minutes per file before signing off. There's no handoff to a separate outside CAD vendor and back again for every round; a flagged issue goes back into the same pipeline that's already holding the order's stone, metal, and specs, which is what keeps a caught error a same-track fix instead of a delay against a different partner's schedule.
Because CVD-grown diamonds are cut and graded the same way mined stones are, the checklist itself doesn't change based on stone origin — seating, prong sizing, and clearance checks apply identically whether the center stone is lab-grown or natural. If you're setting up a new account and want to see how CAD review fits into the broader how it works process, or want the file-format and revision-count specifics for your trade partner account, that's the right next stop. For custom jewelry builds specifically, the same checklist applies whether the piece started as a client sketch or a full CAD-from-scratch design.
What Happens When One of These Gets Missed
- Proportions missed → the piece arrives correctly made to a design that's the wrong scale for the finger it's going on, which reads to the client as a fit problem even though nothing was technically built incorrectly.
- Prong sizing or placement missed → thin prongs on a large stone fail structurally within normal wear; thick prongs on a small stone get flagged by the client as "looks cheap" even though the metal weight is correct.
- Metal weight missed → invoice dispute after the fact, or the client absorbs a cost variance they didn't agree to.
- Seating depth missed → stone sits proud or recessed after casting; requires re-setting, sometimes re-cutting the seat, which risks the stone during rework.
- Comfort or wearability missed → complaints post-delivery that read as a quality issue but are actually a spec mismatch caught too late to fix cheaply; gallery clearance problems also mean resizing later either isn't possible without disrupting a pattern, or the piece needs rework immediately after casting to fix a catch point.
- Engraving space missed → text has to be shrunk, abbreviated, or dropped after the metal is already cast — the one detail clients notice fastest on a personalized piece.
None of these are dramatic failures. They're small misses that all share the same trait: cheap to catch in CAD, expensive to catch after.
A CAD-Approval Checklist Before You Hit Approve
Before hitting approve on any CAD file, run it in this order rather than reviewing free-form:
- Confirm stone size and shape on the file match the actual order — not a placeholder.
- Check proportions and overall scale against the ring size and the approved reference.
- Check prong placement and count against that stone's shape and weight.
- Check the rendered metal weight against the quoted weight and the correct alloy density.
- Check seating depth from a profile or cross-section view.
- Check shank taper, profile, and gallery clearance from an underside view.
- Check engraving space if applicable.
- Only then, review the face-up view for overall design approval.
Running the list in that order matters more than it sounds — face-up last means you're not anchored by how good the piece looks before you've checked whether it's built right.
Frequently Asked Questions
How many CAD revisions should I expect before approval?
It varies by design complexity, but most single custom pieces resolve within two or three rounds once the checklist above is applied consistently — the revisions that drag out are usually the ones where the initial brief was vague or feedback arrived as adjectives instead of specific, measured notes.
What's the difference between a face-up render and a cross-section render, and do I need both?
A face-up render shows overall proportions and stone layout; a cross-section shows the internal structure — actual seating depth and metal thickness at stress points — that a face-up view can't reveal at all. You need both. Approving from a face-up render alone is the single most common reason seating and clearance issues slip through to casting.
Can I request a physical resin or wax print before final approval on a complex piece?
Yes, and for anything with an unusual setting structure or a first-time design, it's worth asking for one. A printed model lets you physically check prong height and gallery clearance in a way a screen render can approximate but not fully replicate.
What happens if I approve a CAD file and then find an error after casting?
It becomes a rework or a re-cast, not a quick fix — metal that's already cast can't have its internal seating depth or shank taper changed without cutting it apart. That's the core reason for reviewing at the CAD stage: every one of these checks is a few minutes of screen time before casting versus a full remake after.
Do lab-grown diamonds need any different CAD treatment than mined stones?
No — CVD-grown diamonds are cut and graded the same way mined stones are, so seating, prong sizing, and clearance checks are identical regardless of stone origin. The checklist doesn't change based on where the diamond came from.
Should engraving be planned into the CAD file, or can it be added after casting?
Plan it into the CAD file whenever possible. Engraving after casting works, but checking interior surface width and curvature in CAD first prevents the character count or font size from having to shrink at the last minute to fit a surface that turned out smaller than expected.